


Prerequisites:
- Virtual Machine
- This lab will use Kali Linux
- Visual Studio Code will be used, feel free to use VIM
- HASHES (SHA256)
- Kali Linux (VMWare): e4c6999edccf27f97d4d014cdc66950b8b4148948abe8bb3a2c30bbc0915e95a
- VS Code: c492f27036cb499b5c962e9ac89e1438c78af88bd26d01b851c54d5ba192f730
INTRODUCTION:
Buffer Overflows have been a cyber security threat for more than 45 years. With no sign of stopping. However, concepts such as a Stack, Buffer, and Memory Addresses might be lacking when most guides simply show how to perform a Buffer Overflow over explaining why a Buffer Overflow is possible [1][2].
The goal of this lab is to present an entry-level program to test the inner workings of what entails a Buffer Overflow.
STEP 1 (Setting up the Code):
Part 1
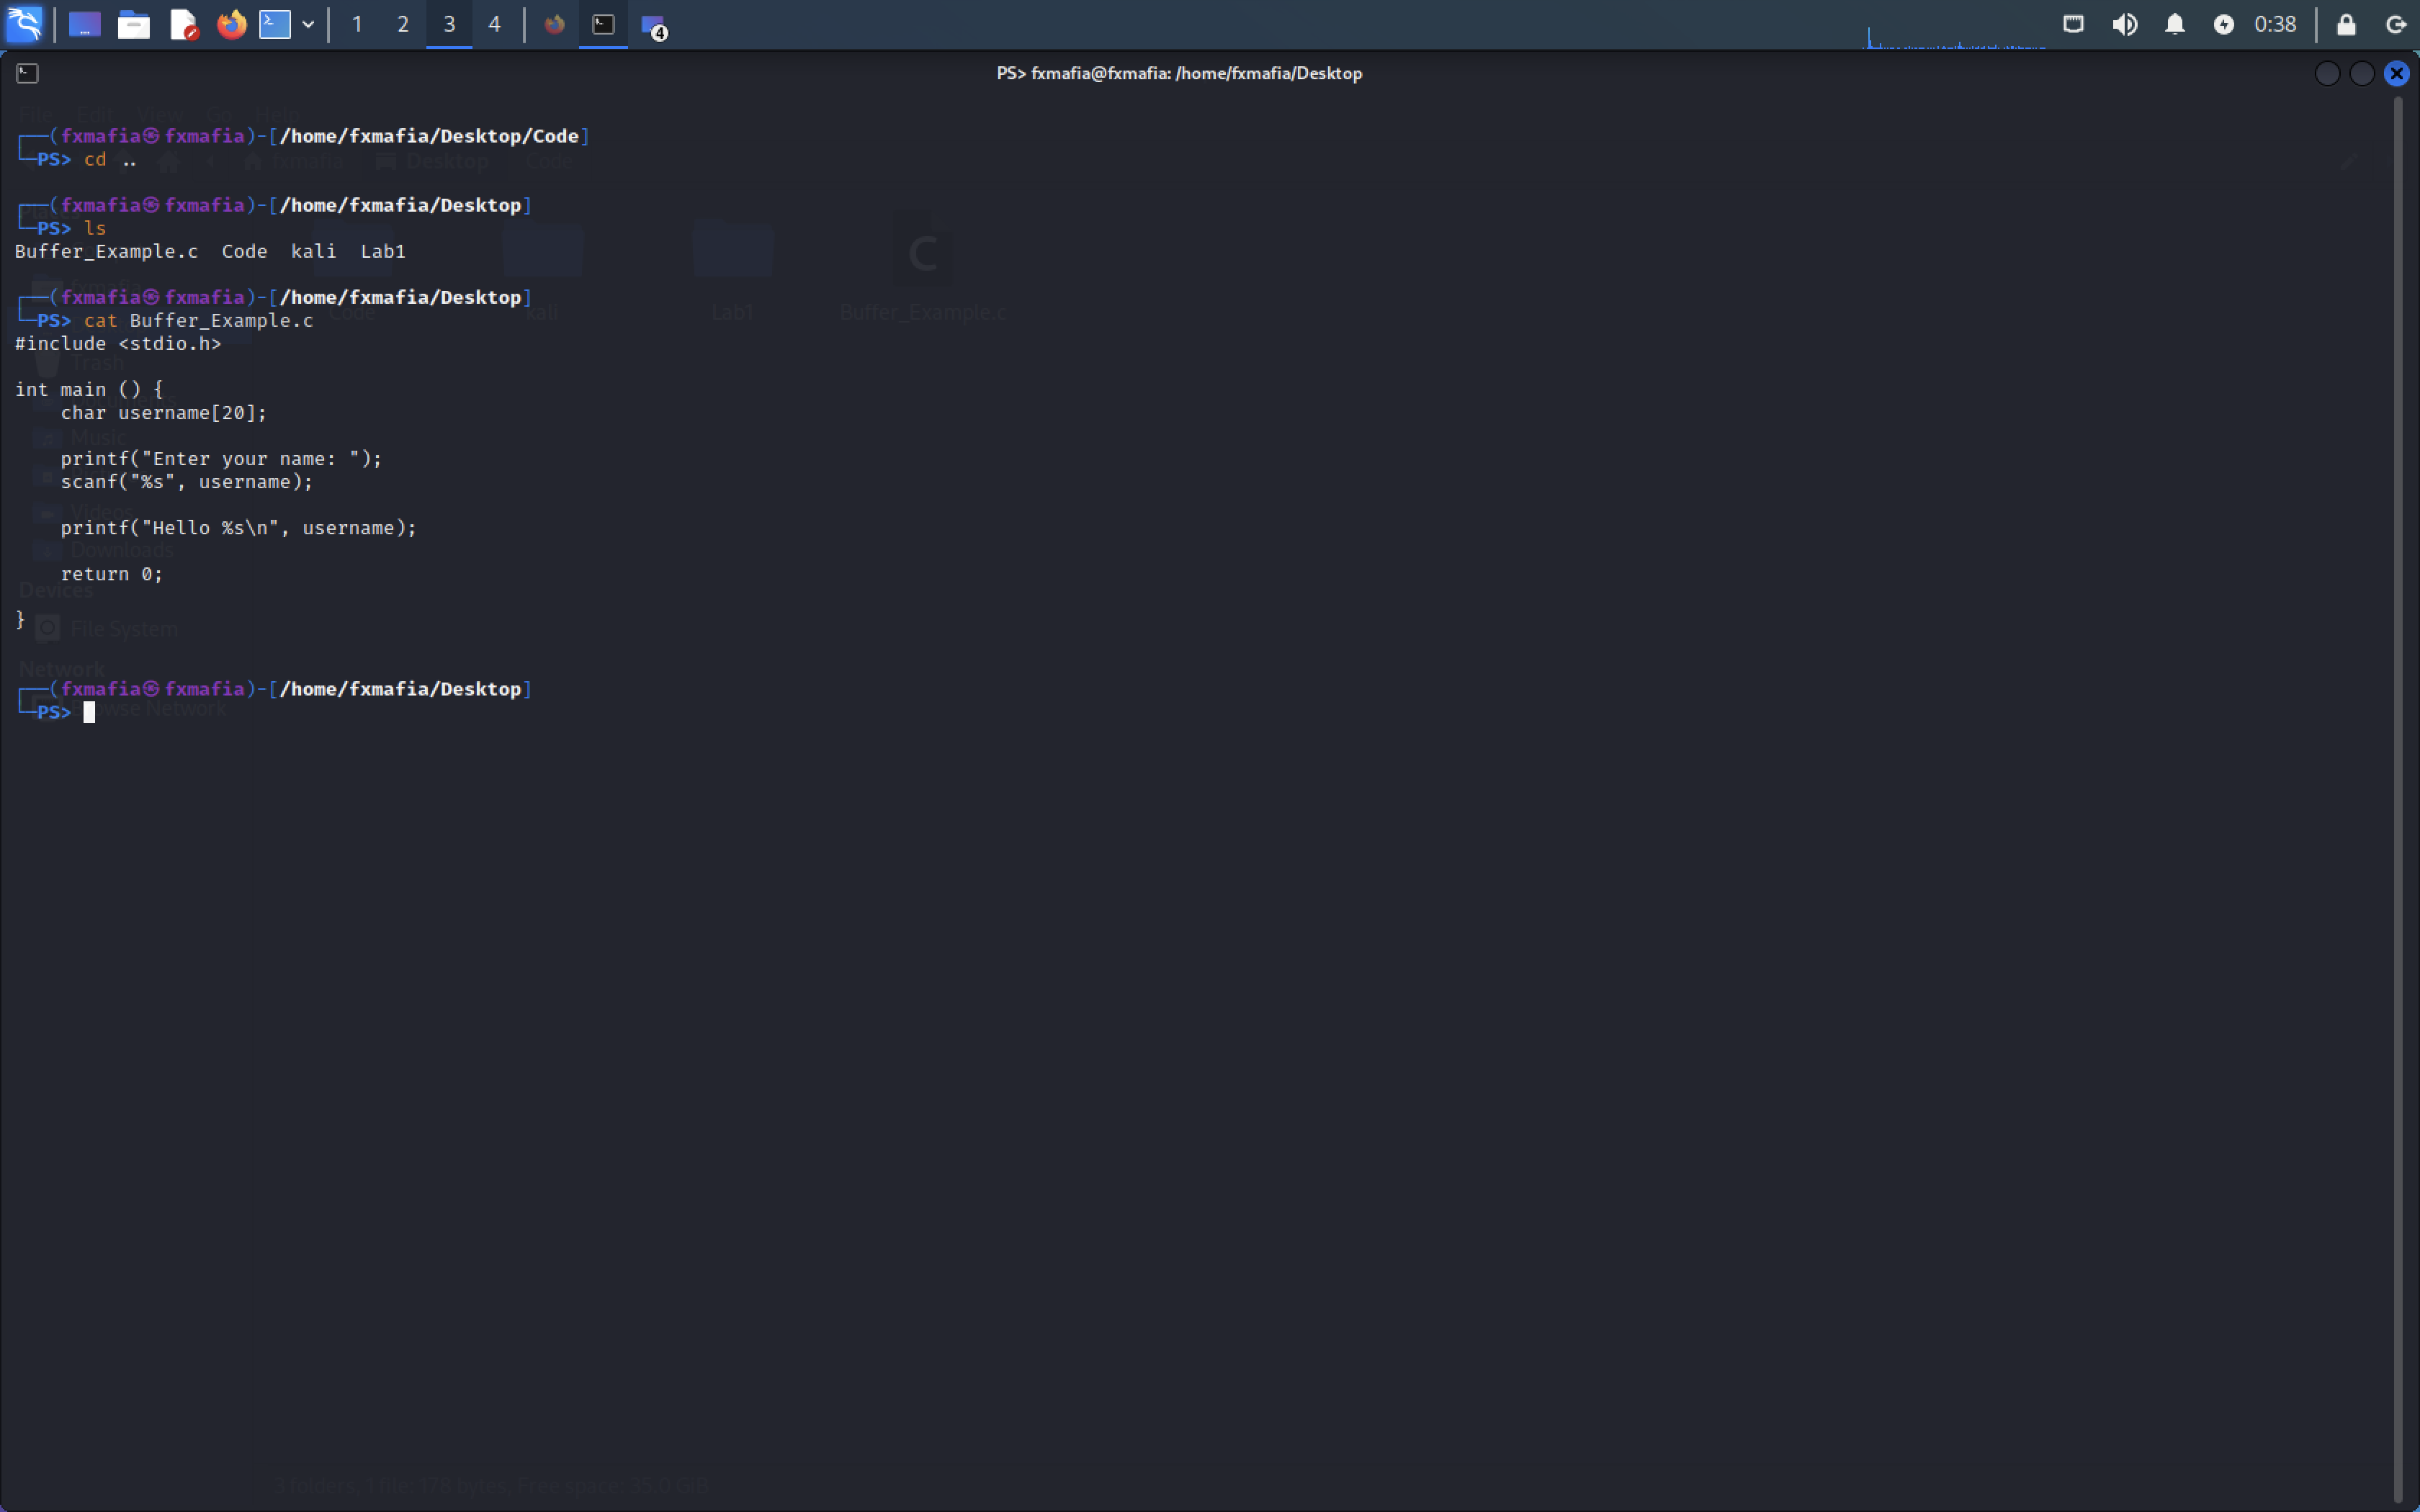
Using the code in Figure 1, please save it to your Desktop Directory.


Part 2
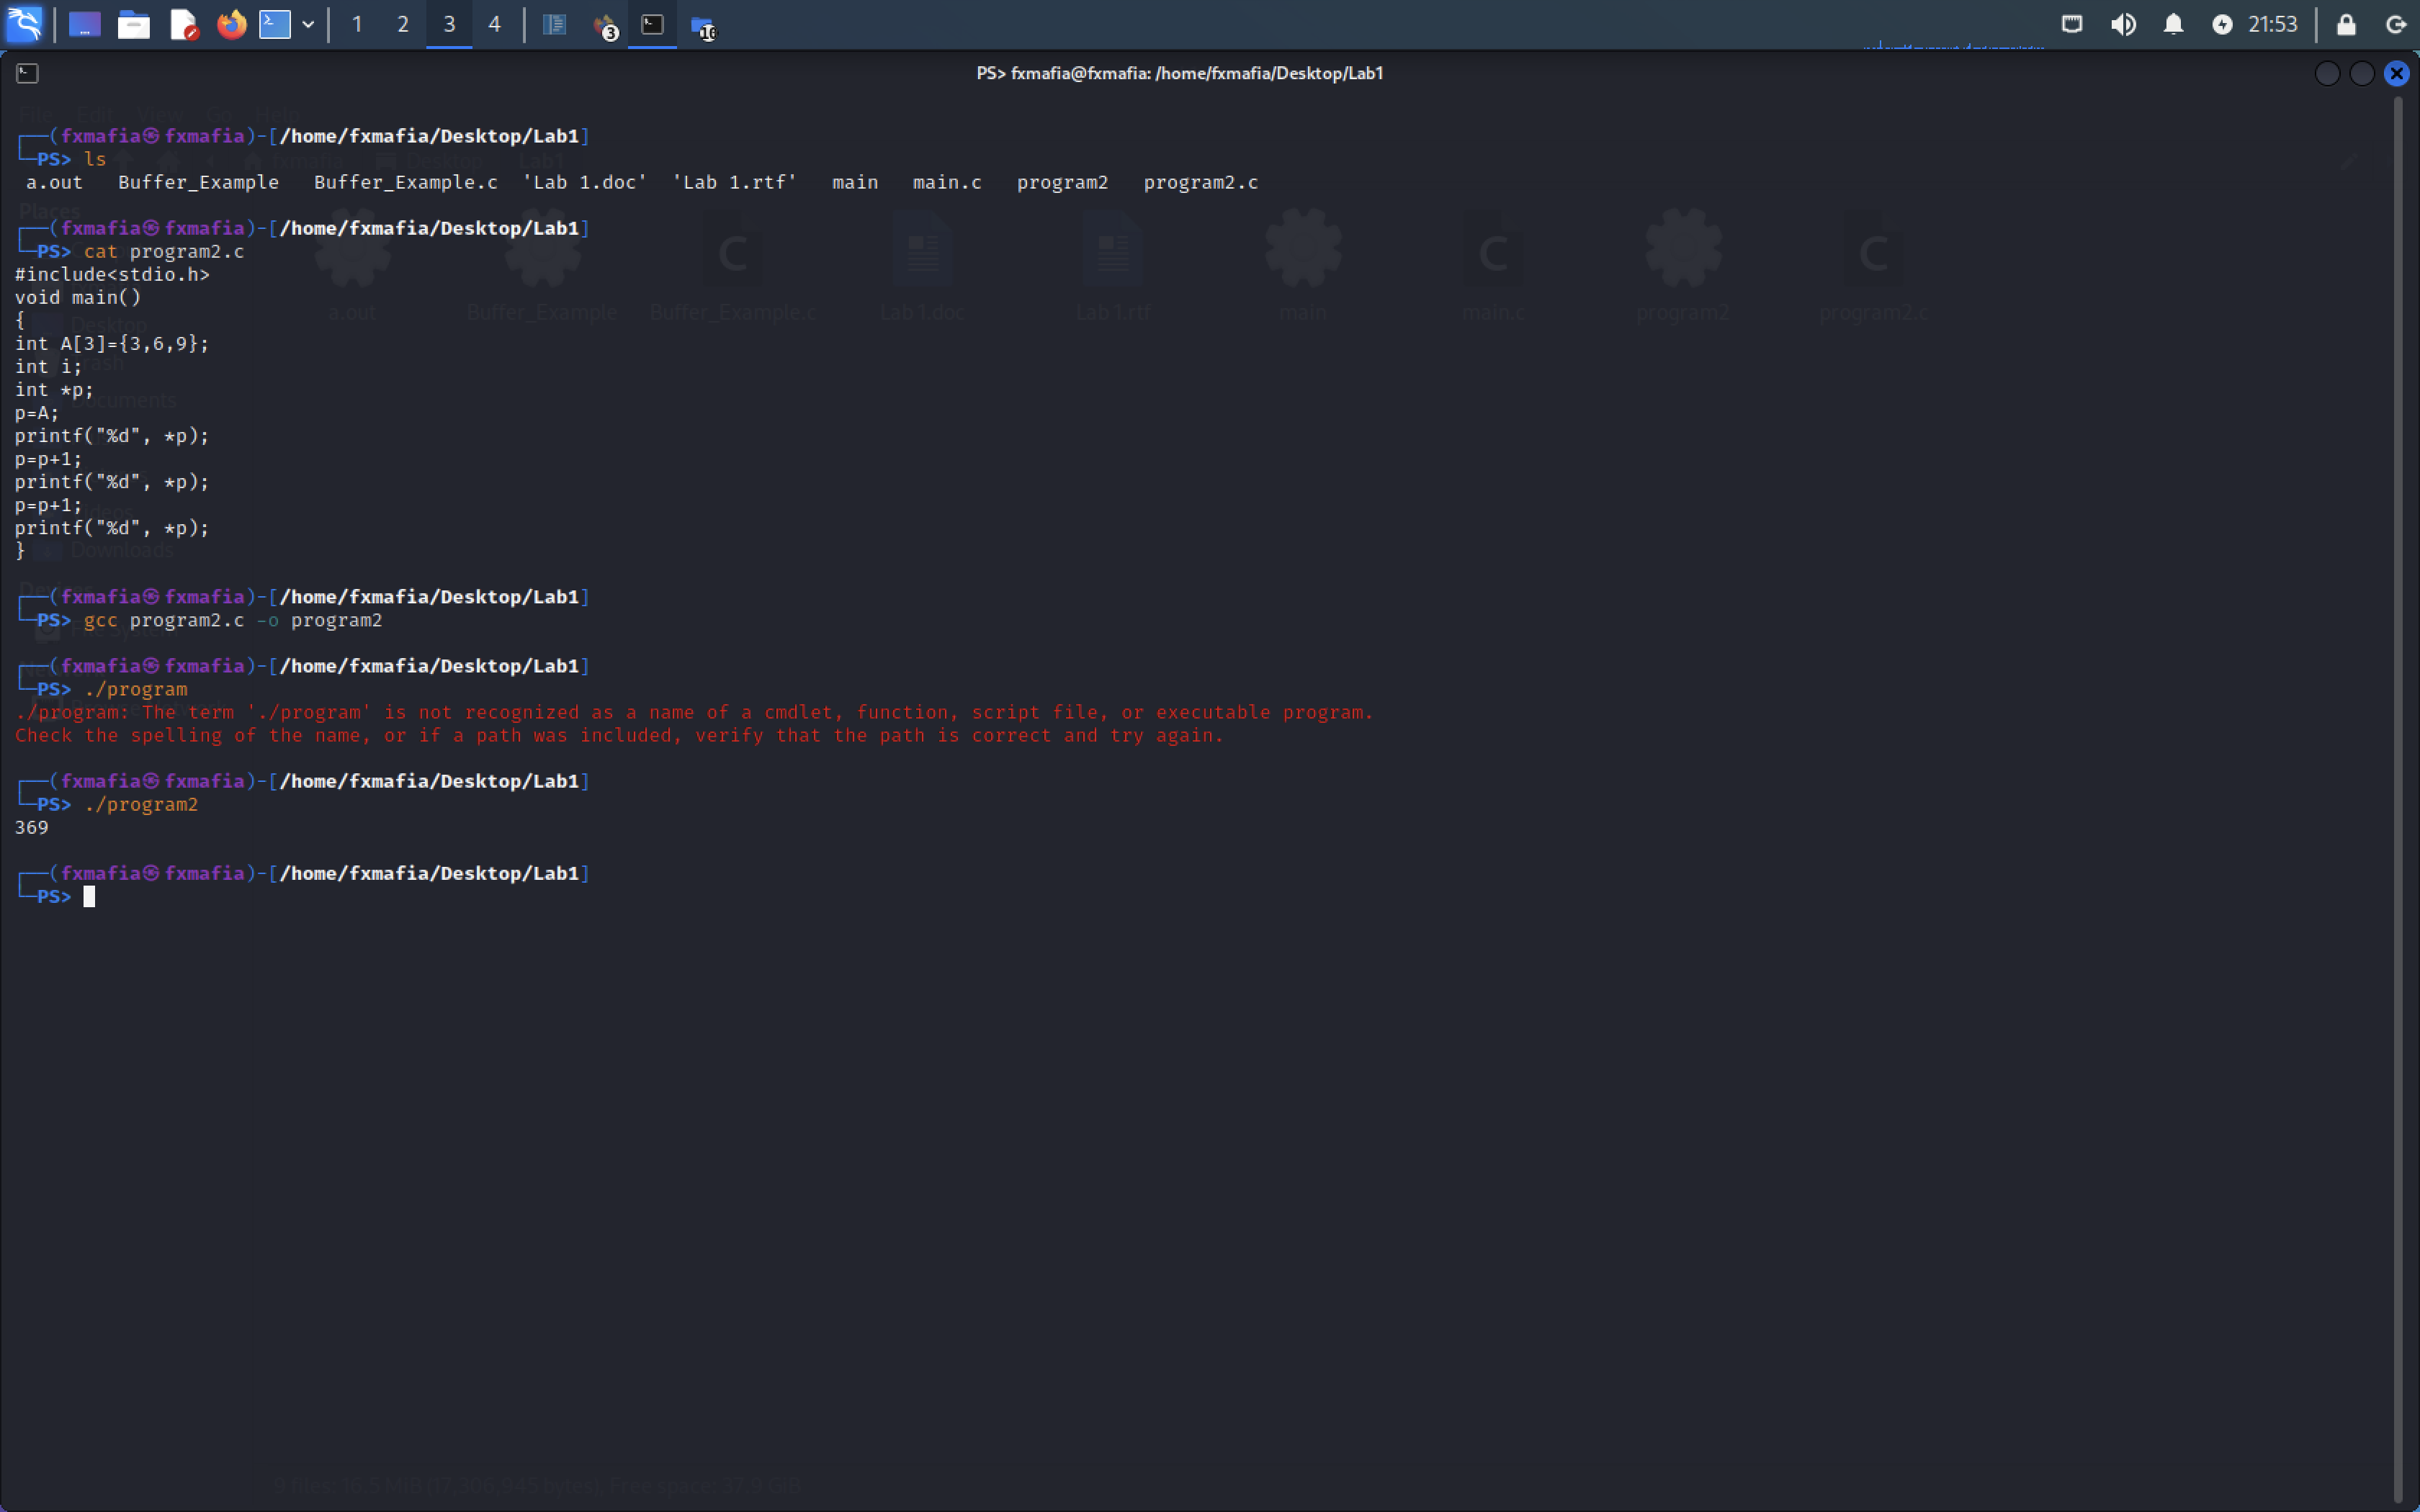
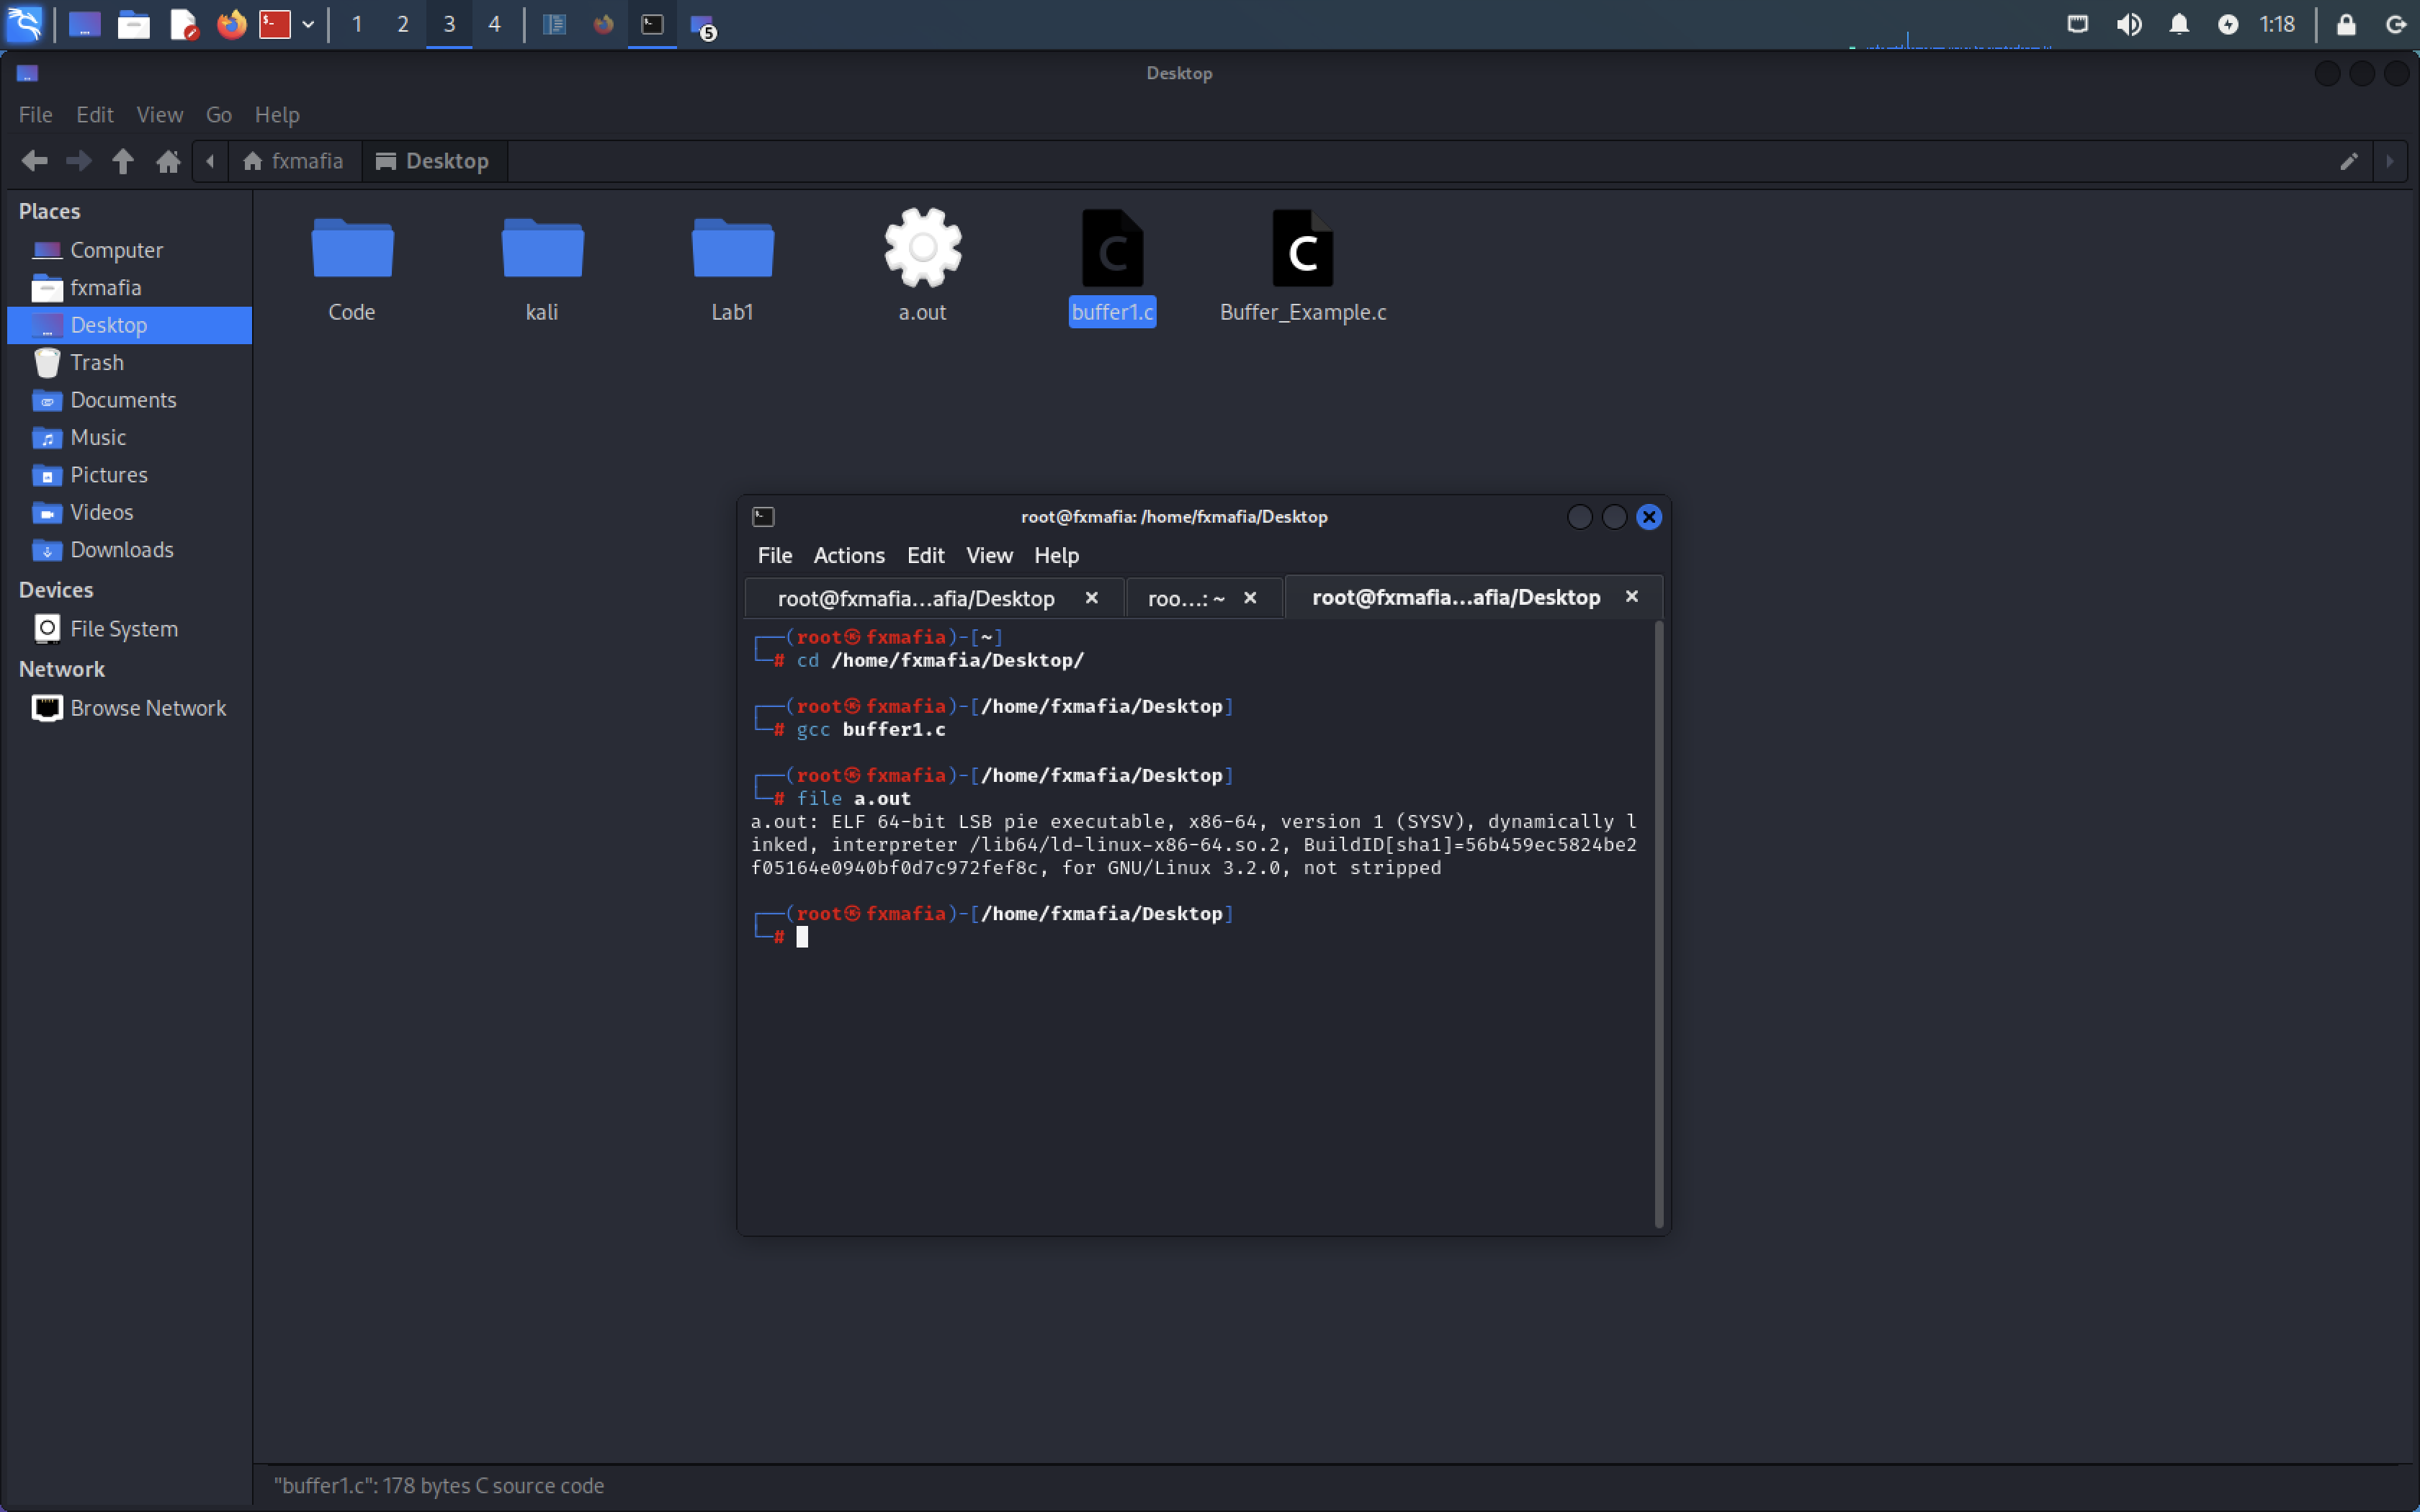
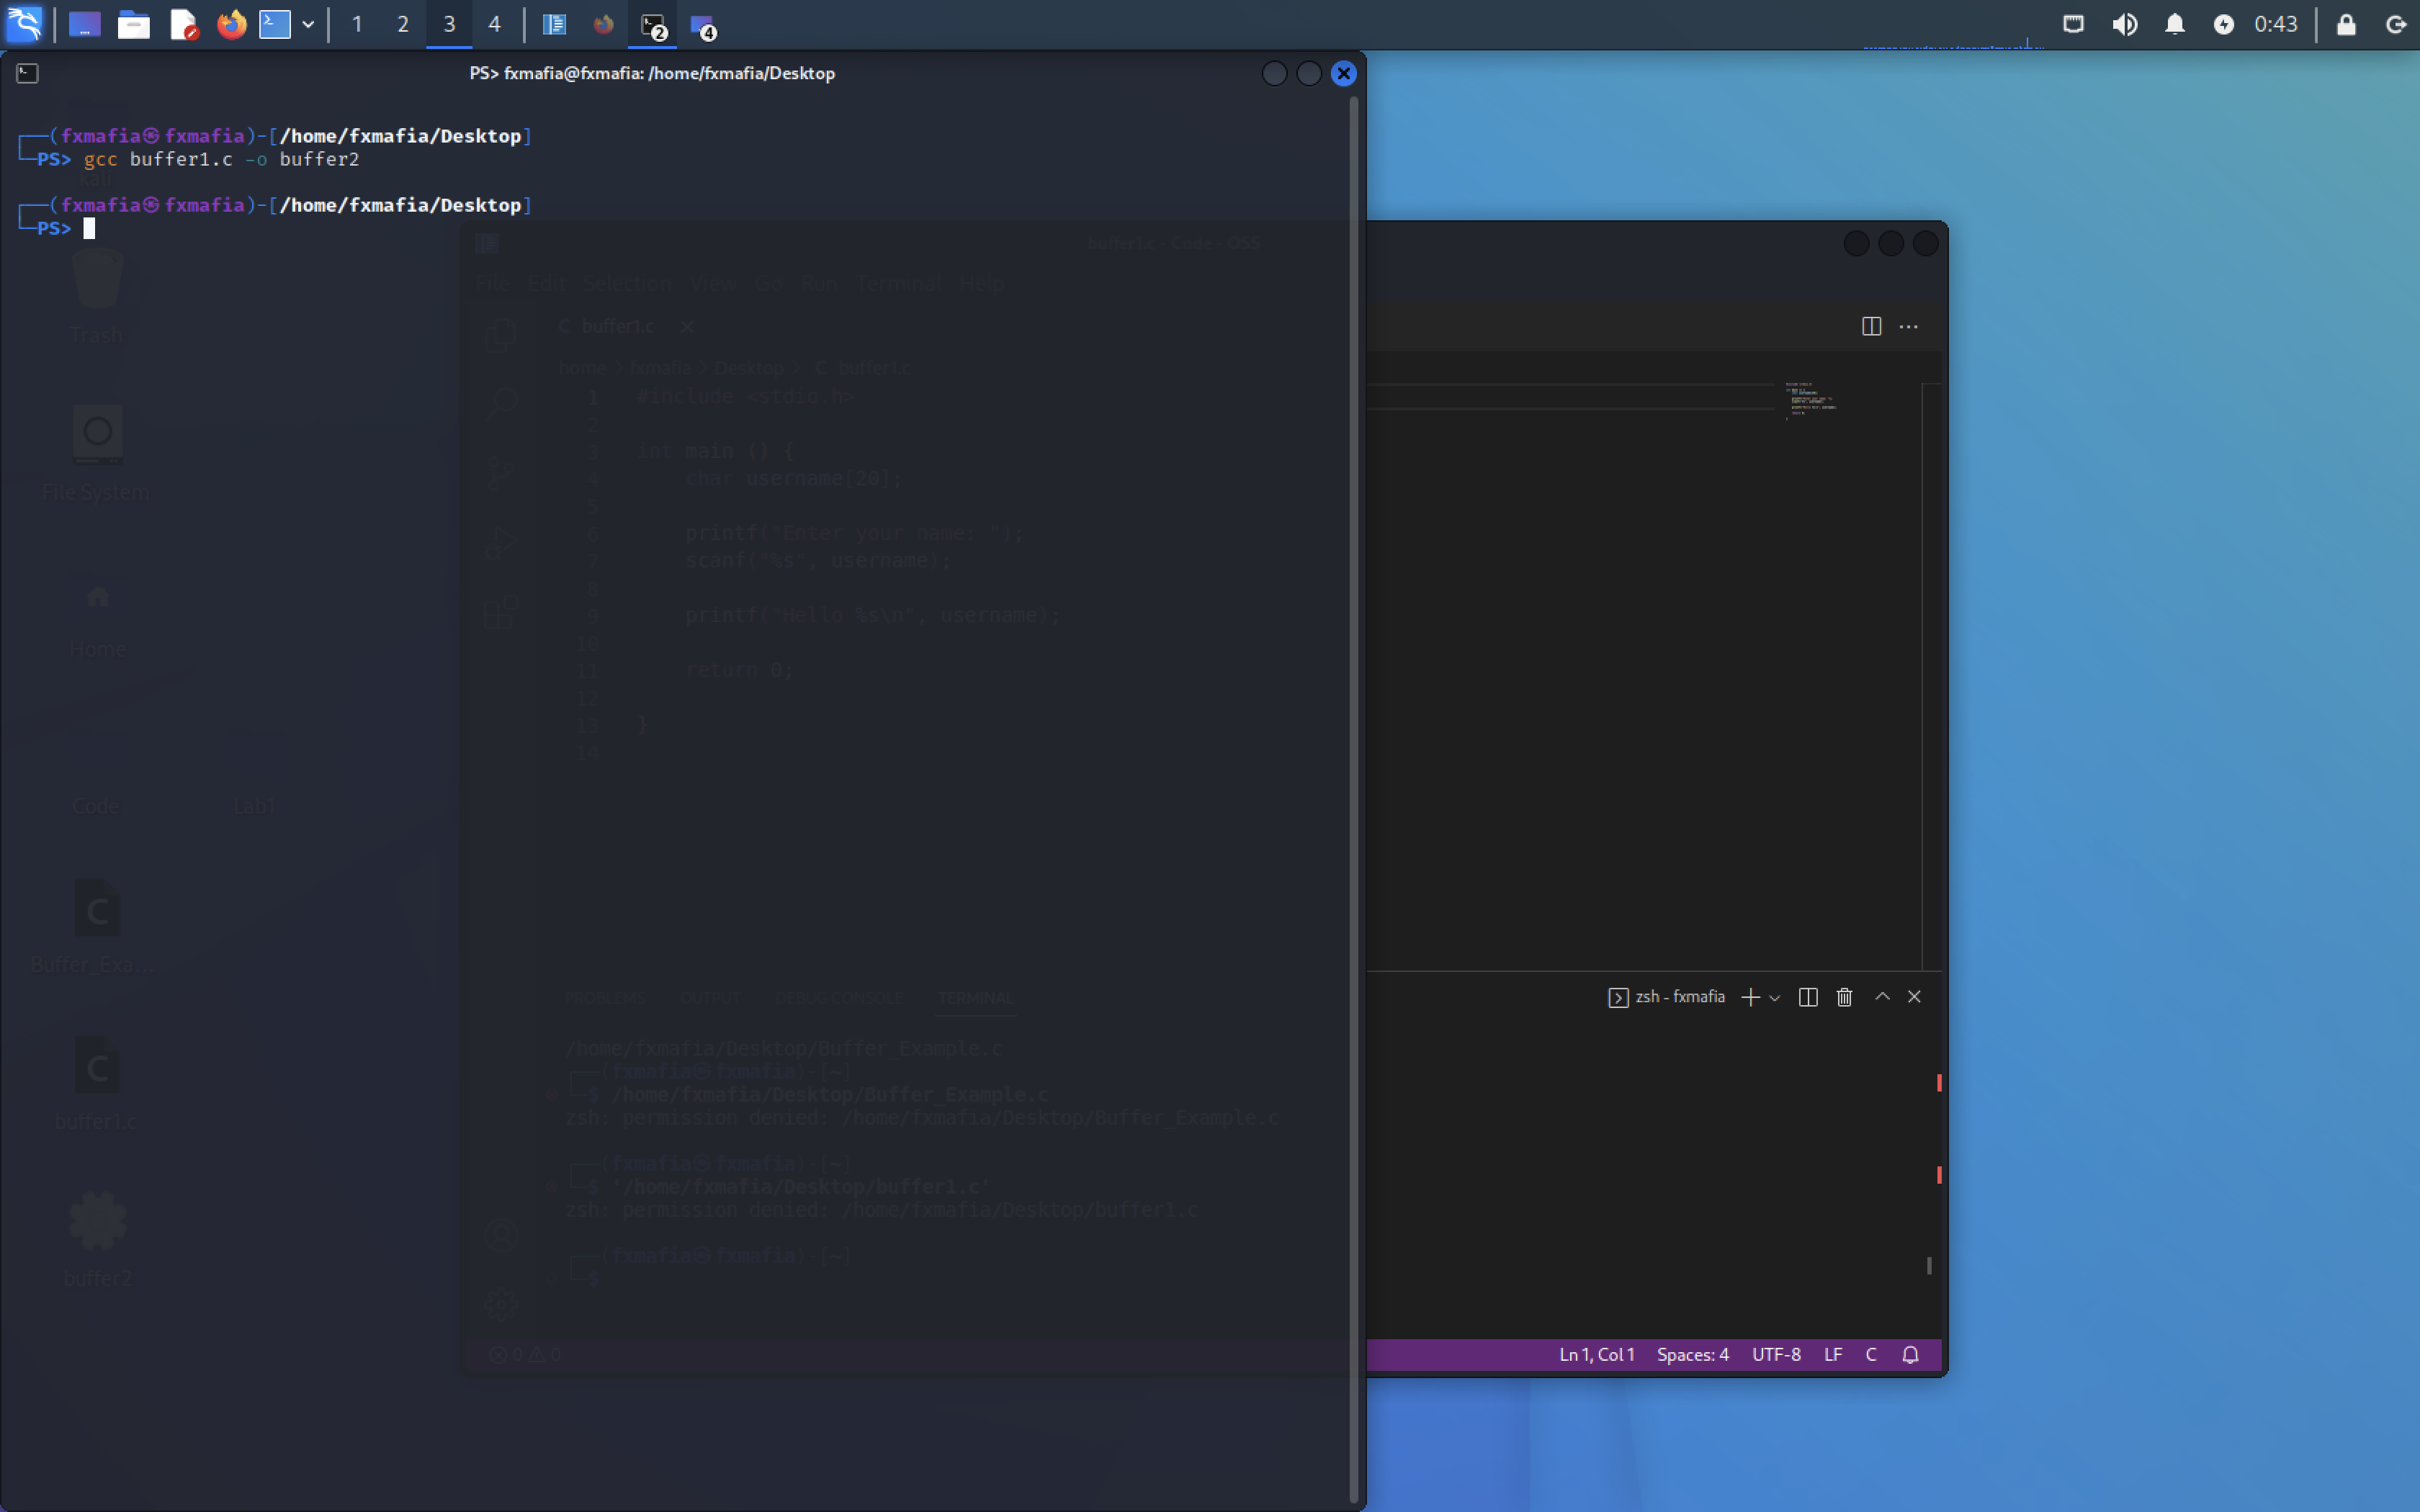
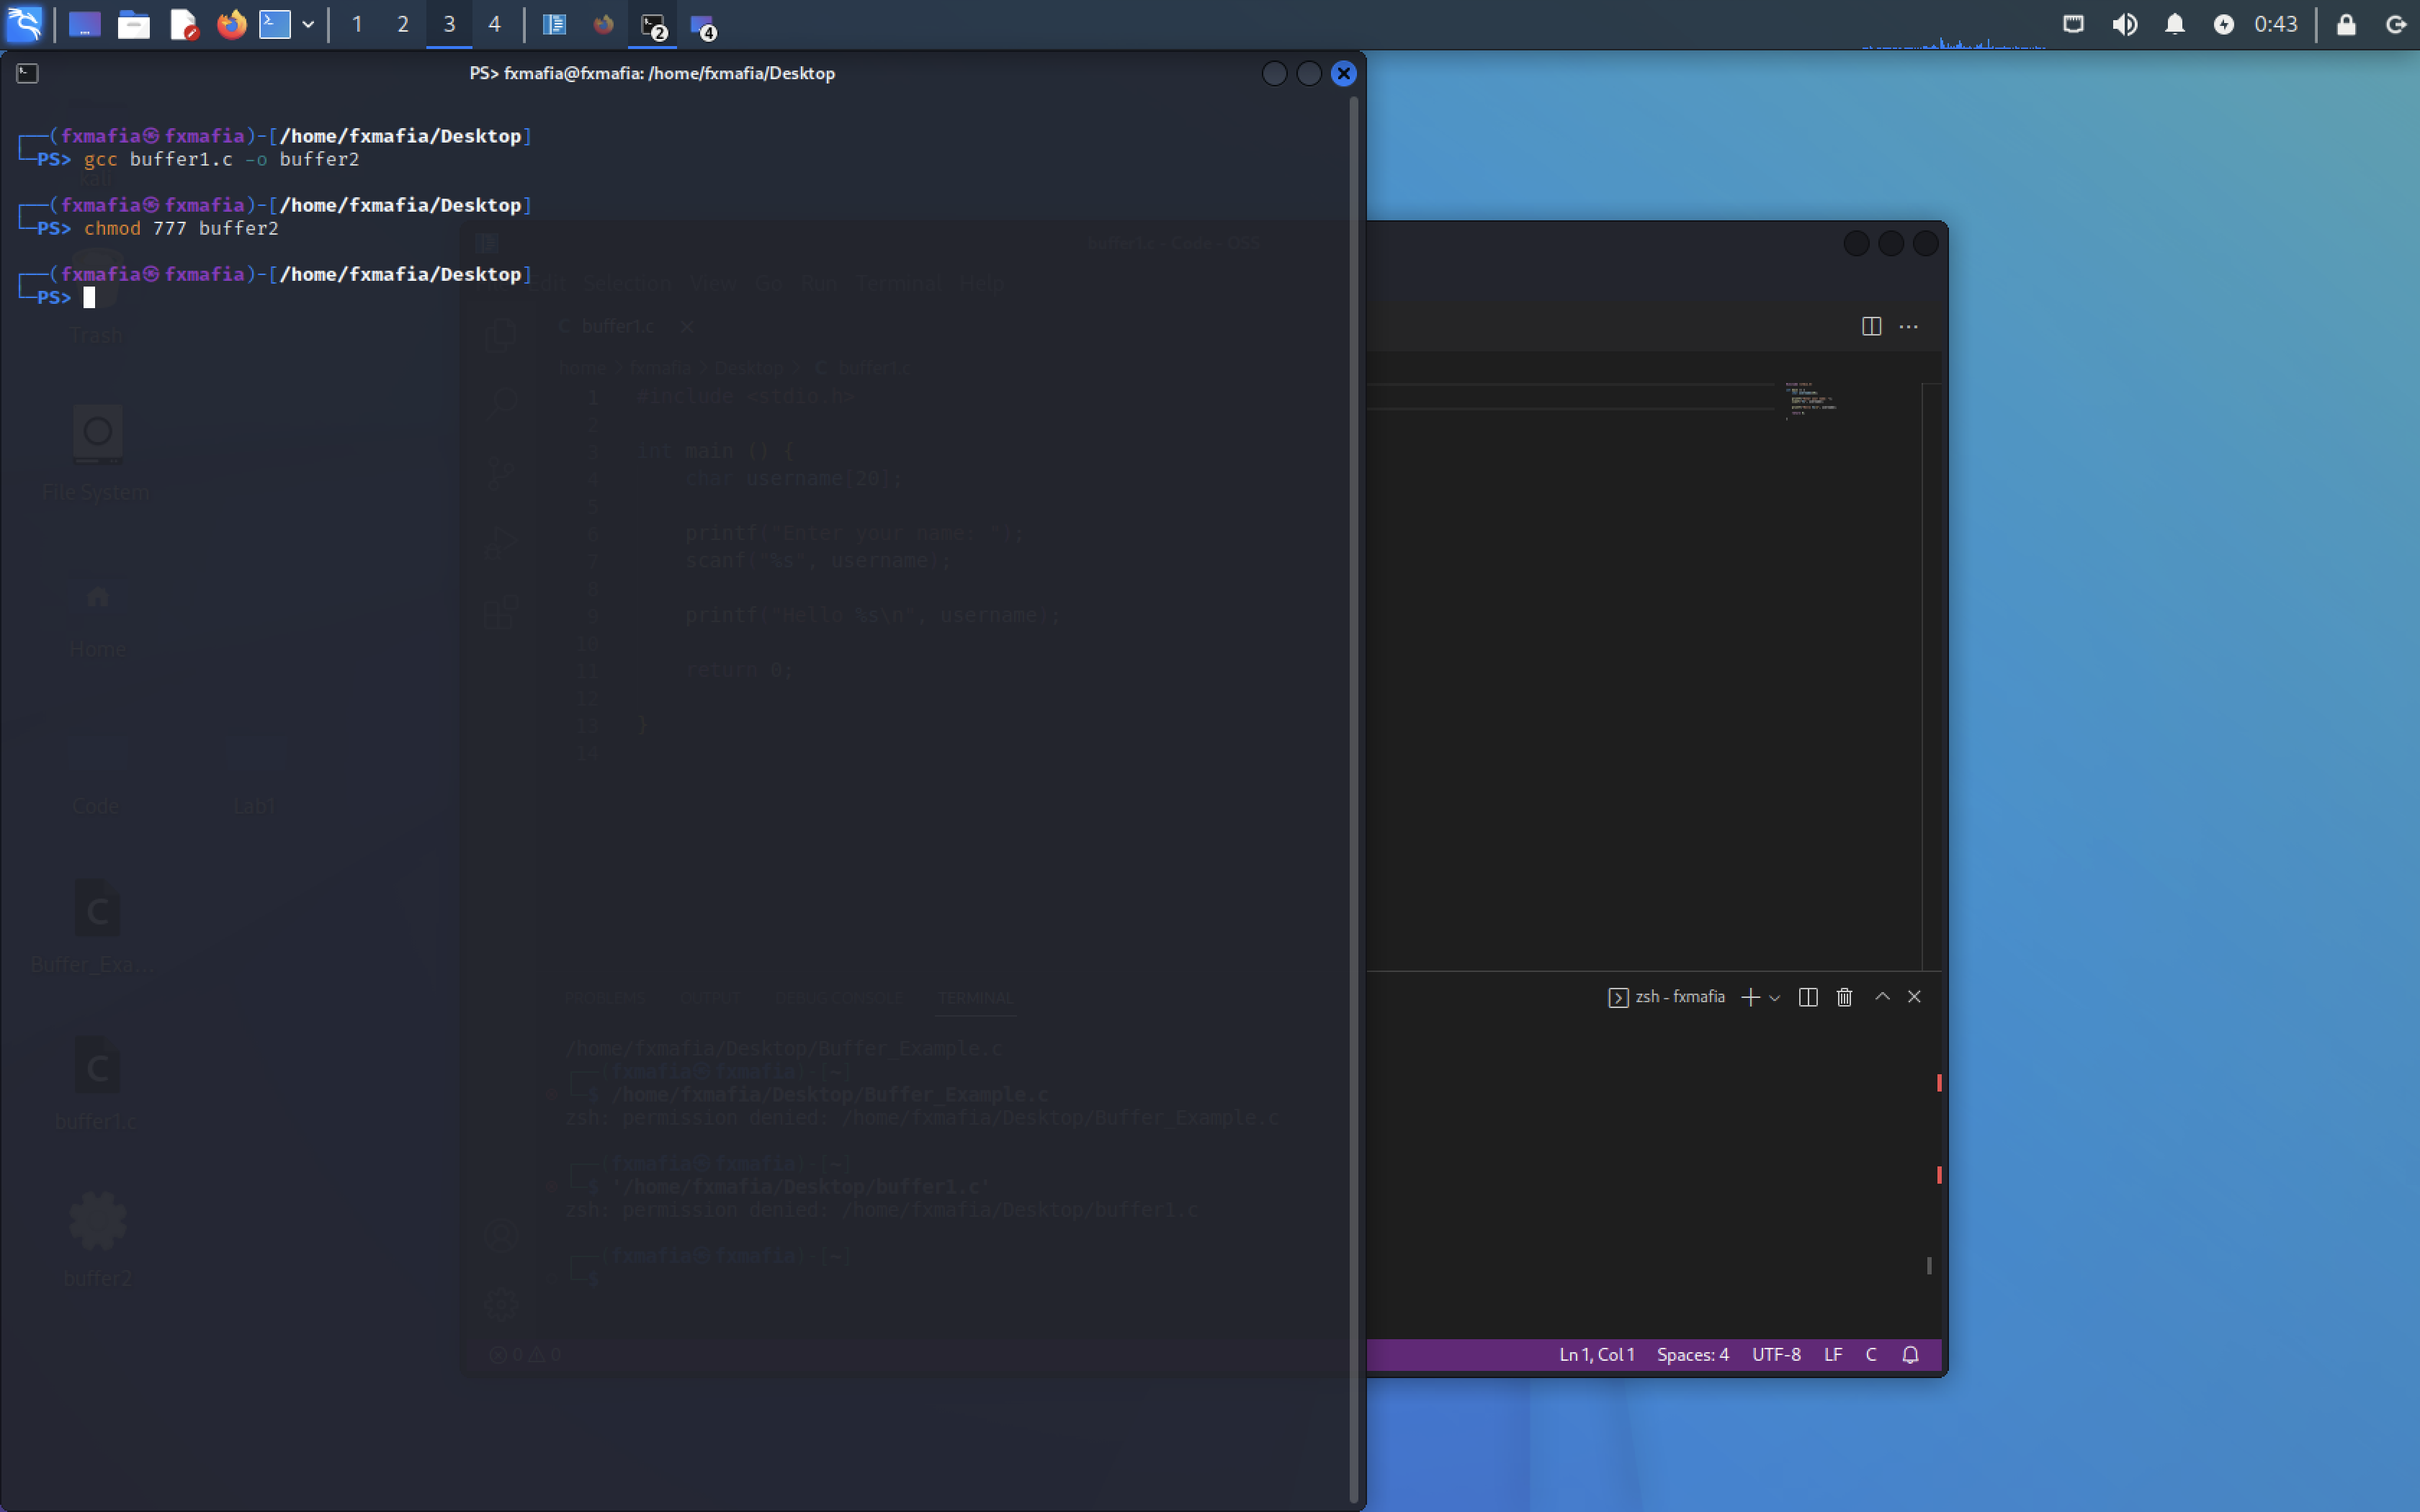
Change directories to the saved file and run, as seen in Figure 2 :
- gcc “filename.c” -o “newfilename”
- chmod 777 “newfilename”
- ./”newfilename”
STEP 2 (Buffer Overflow?):
As you can see in Figure 3, the buffer size for the string is 25 characters. What would happen if we added more than 25?
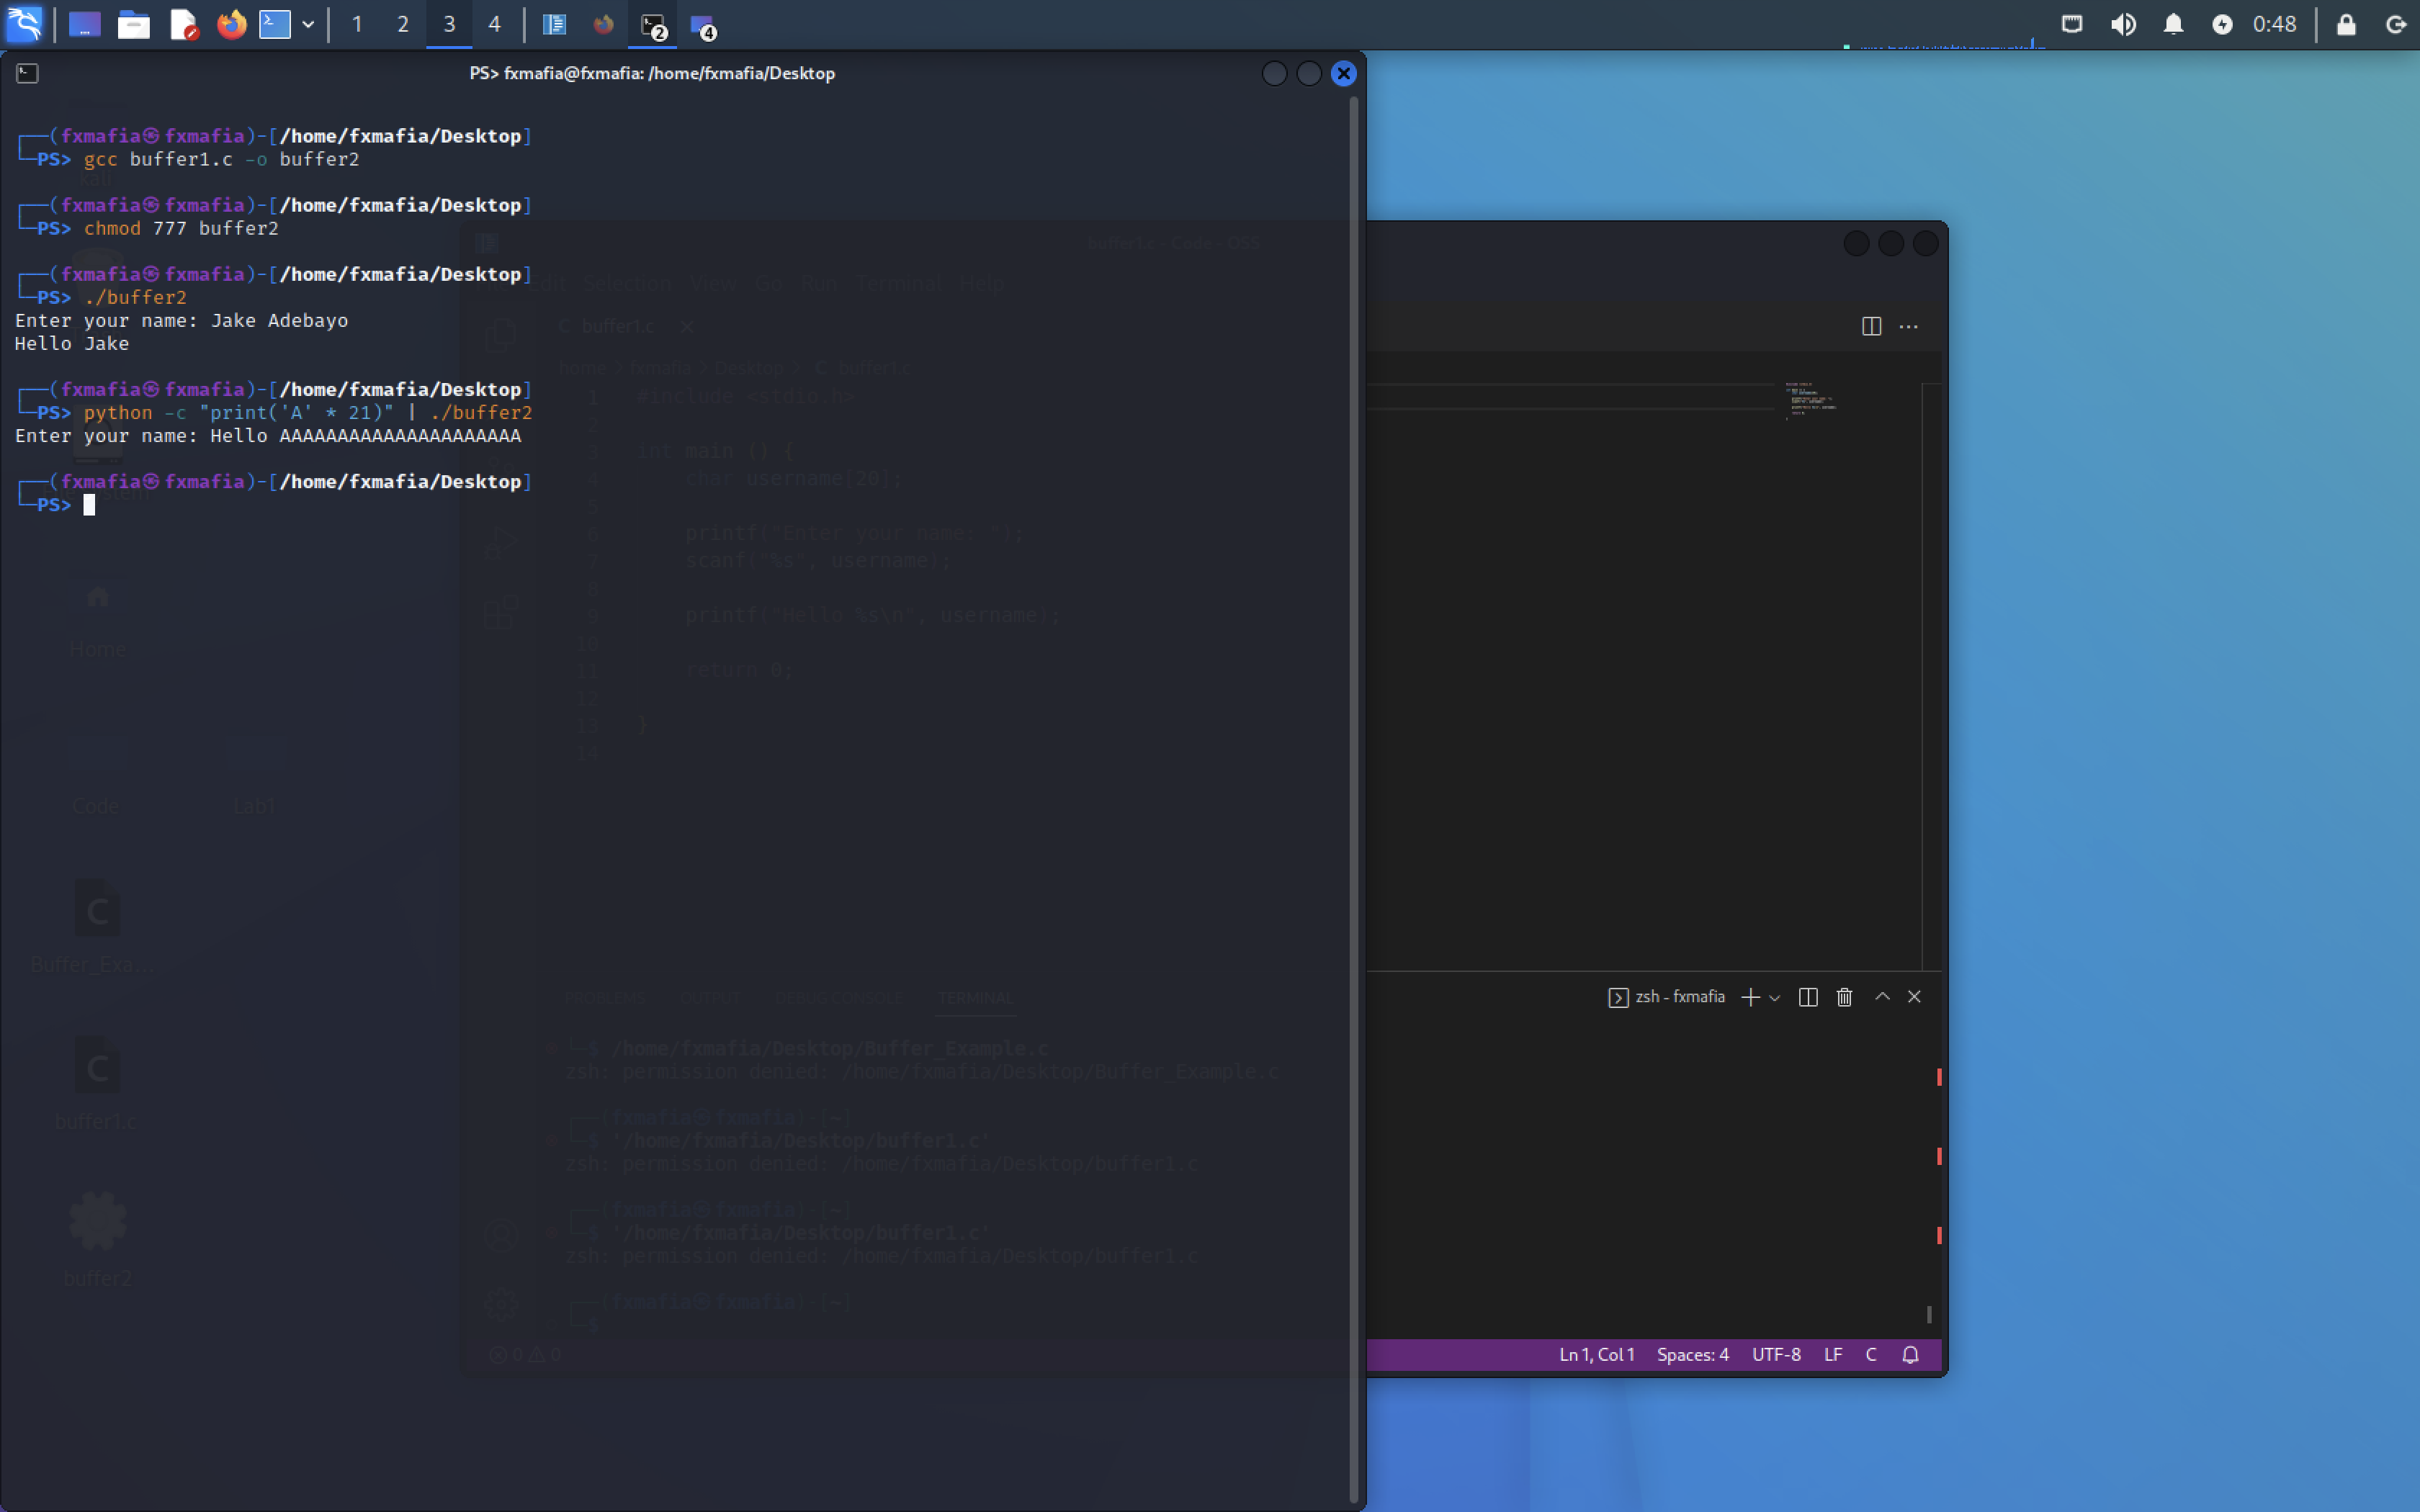
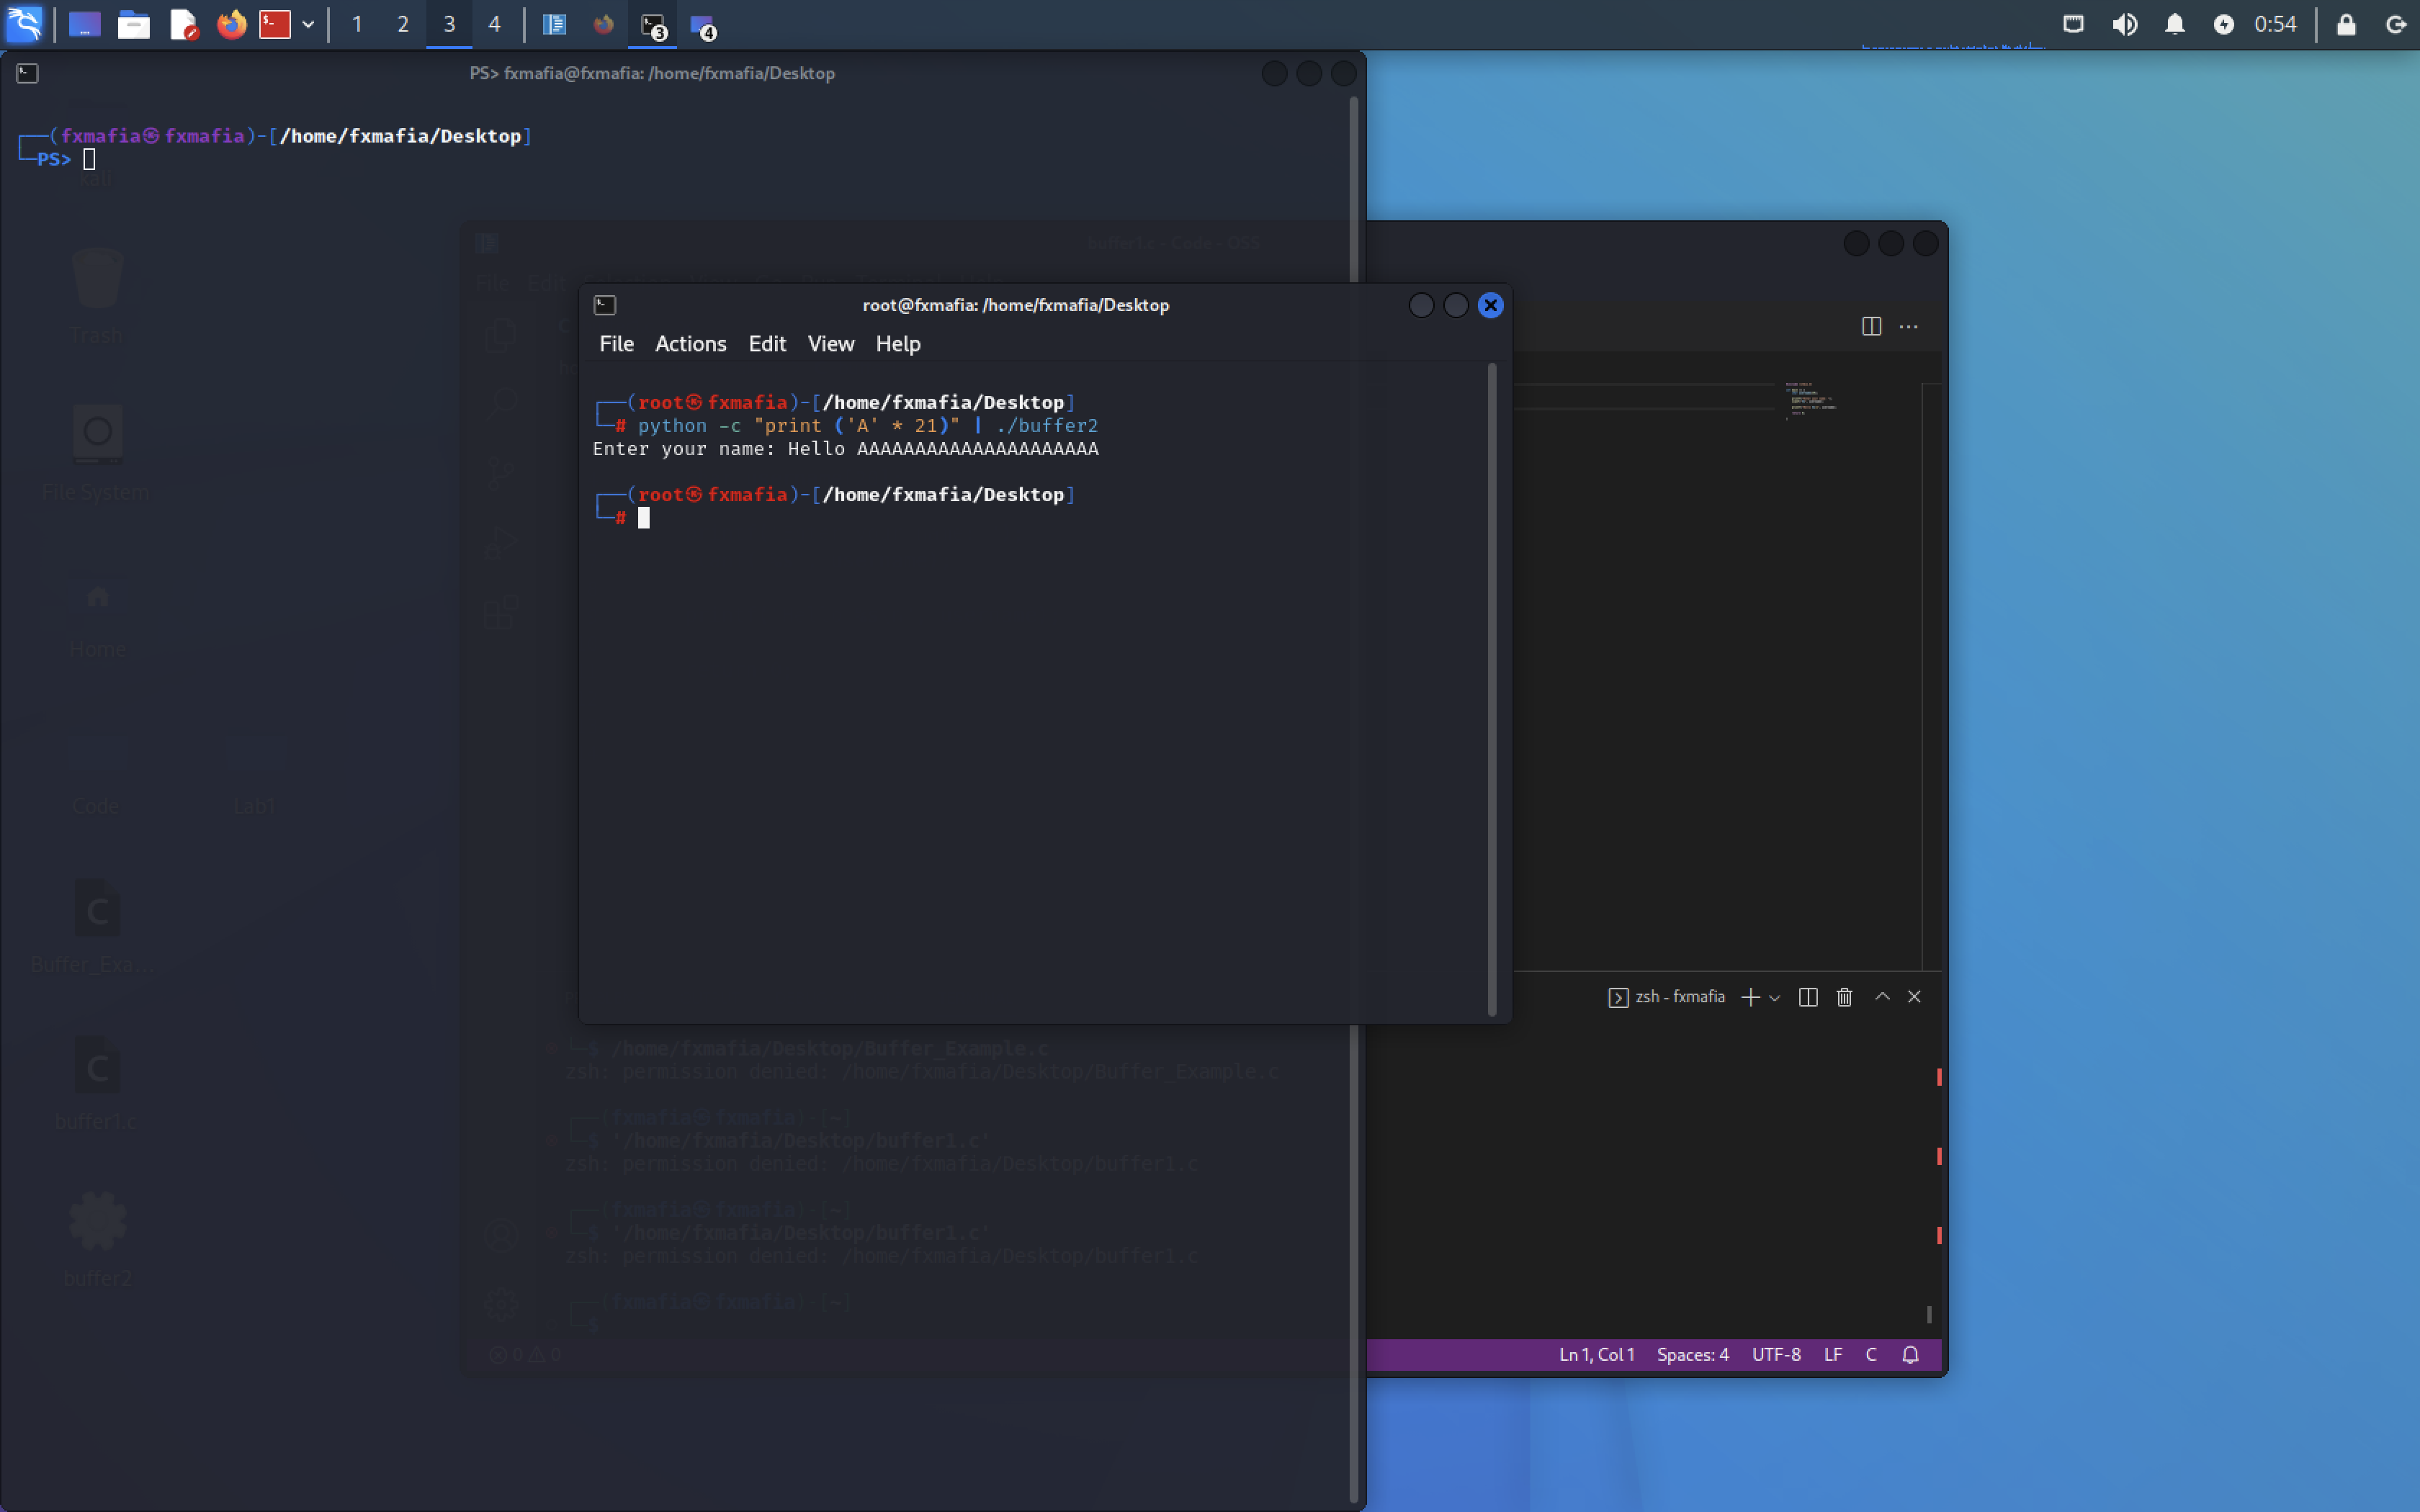
Run the following:
python -c “print(‘A’ * 21)” | ./buffer2
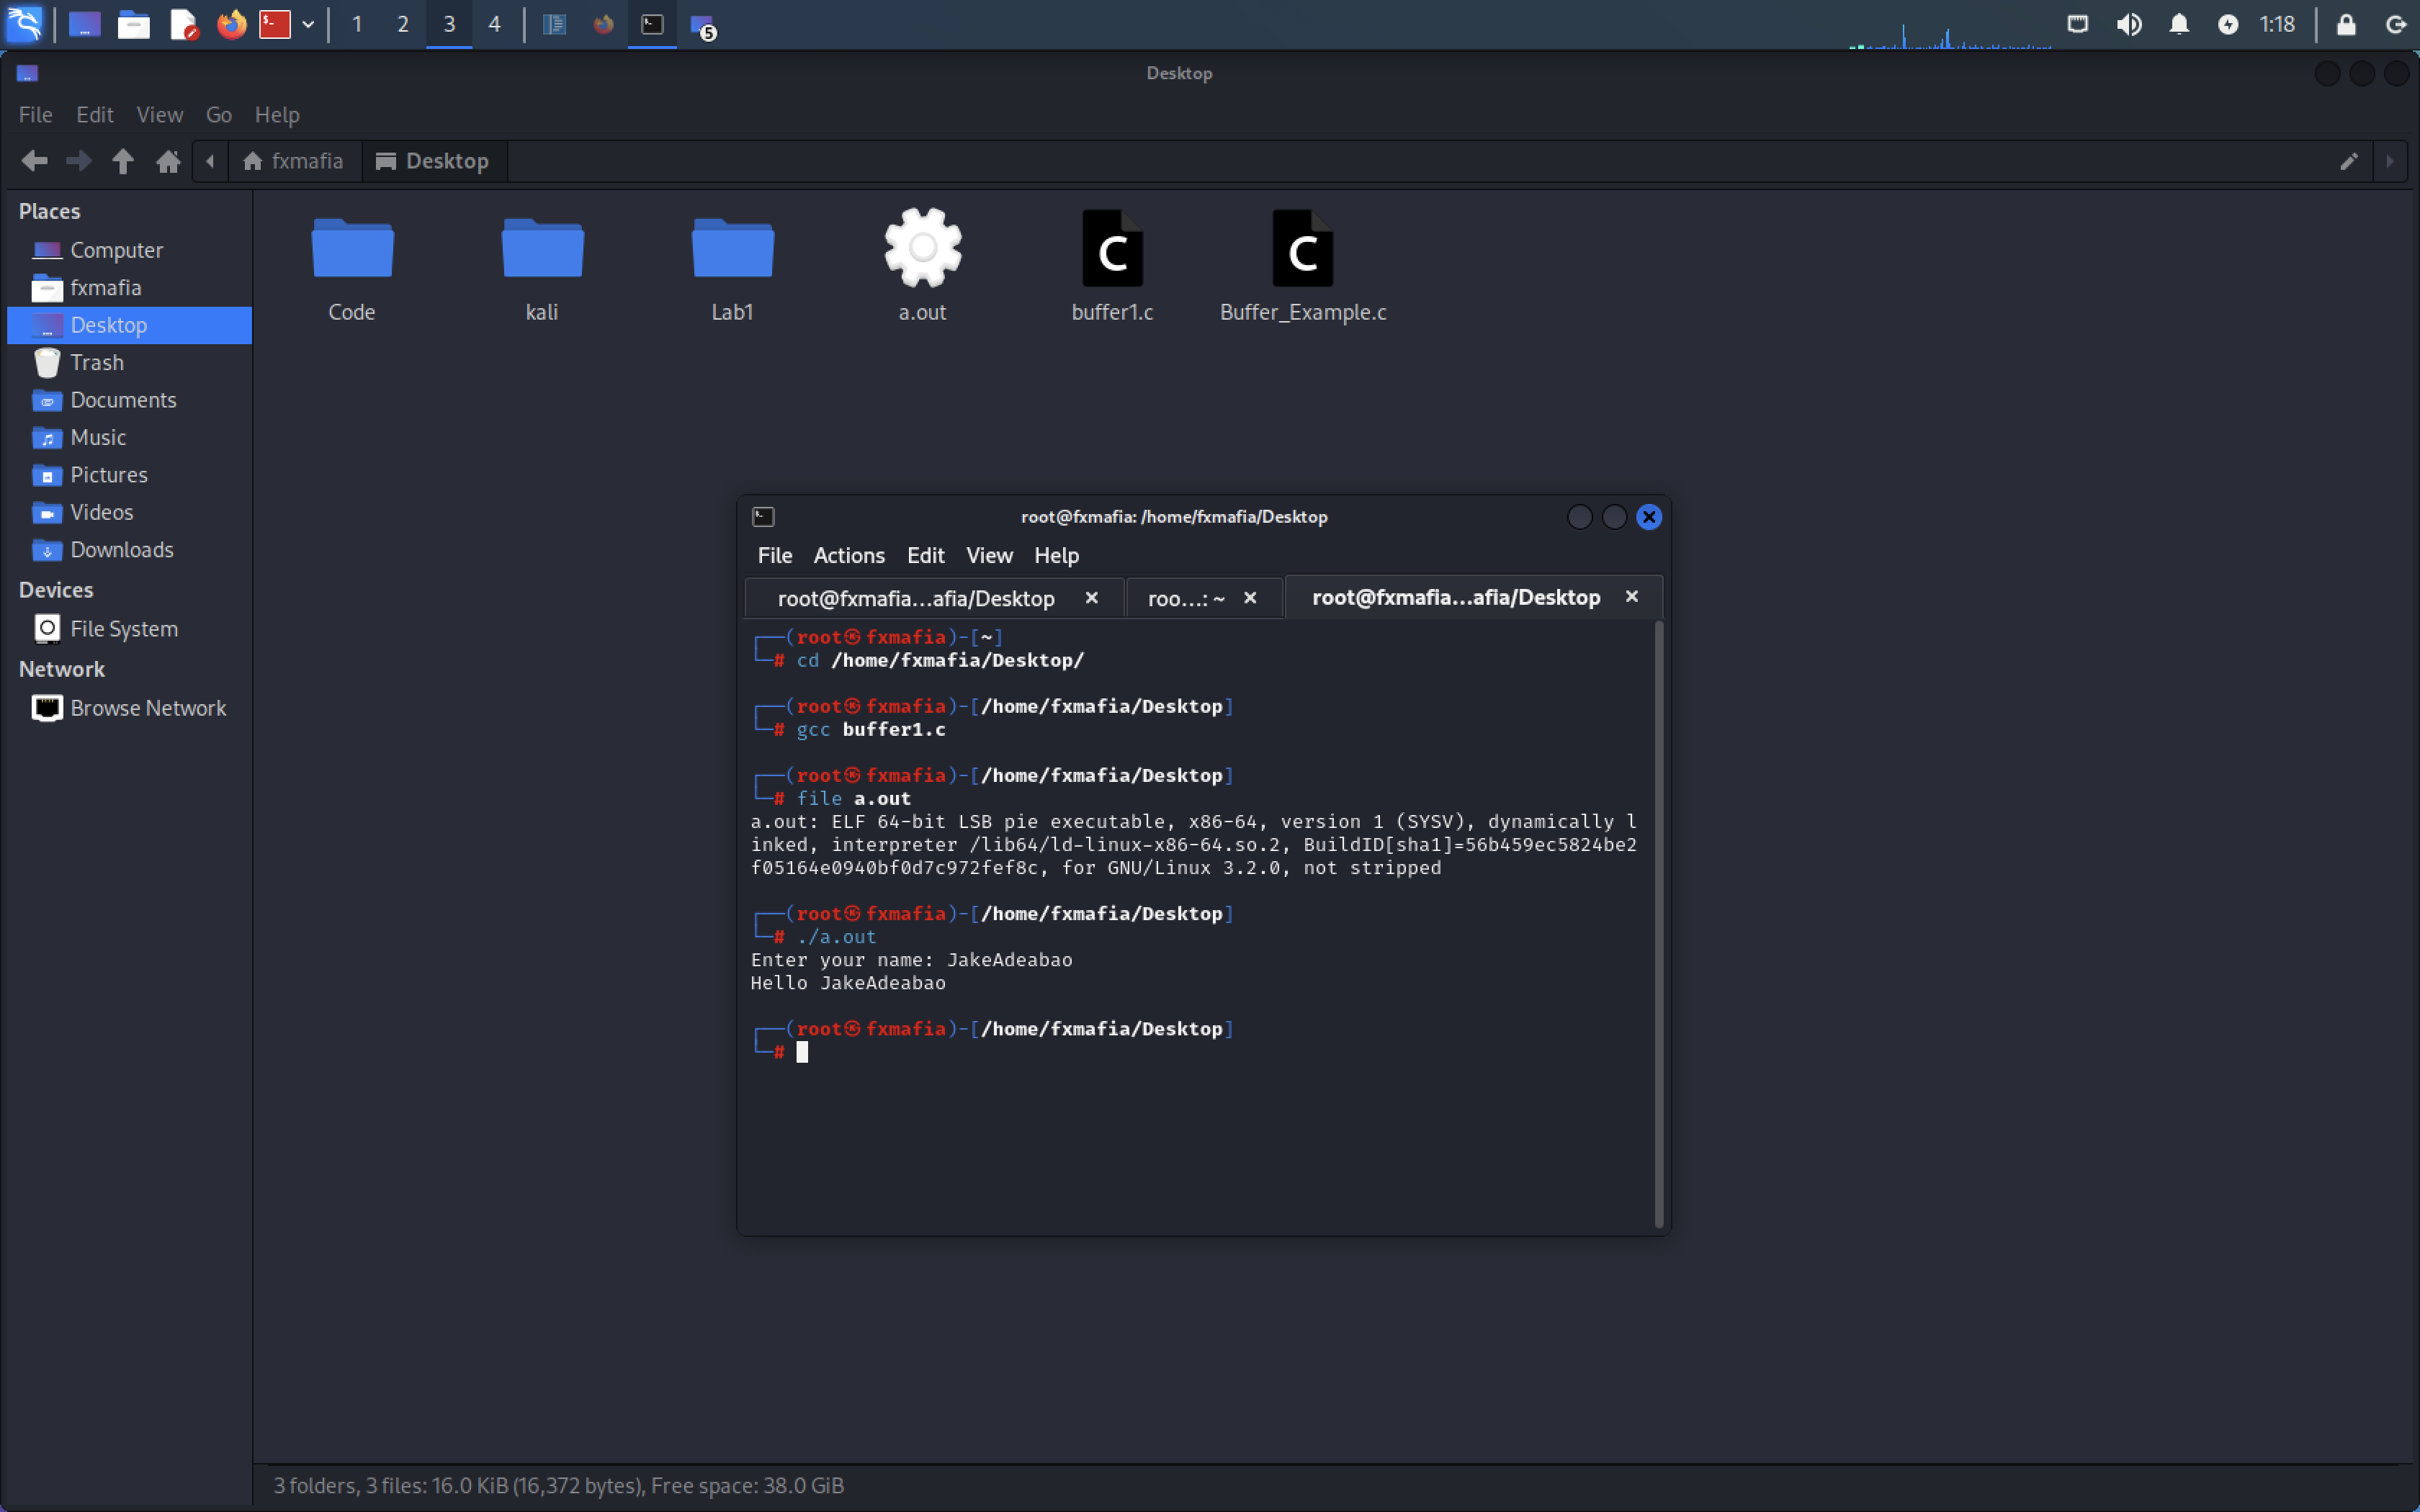
As we can see in Figure 5 the code executes normally.
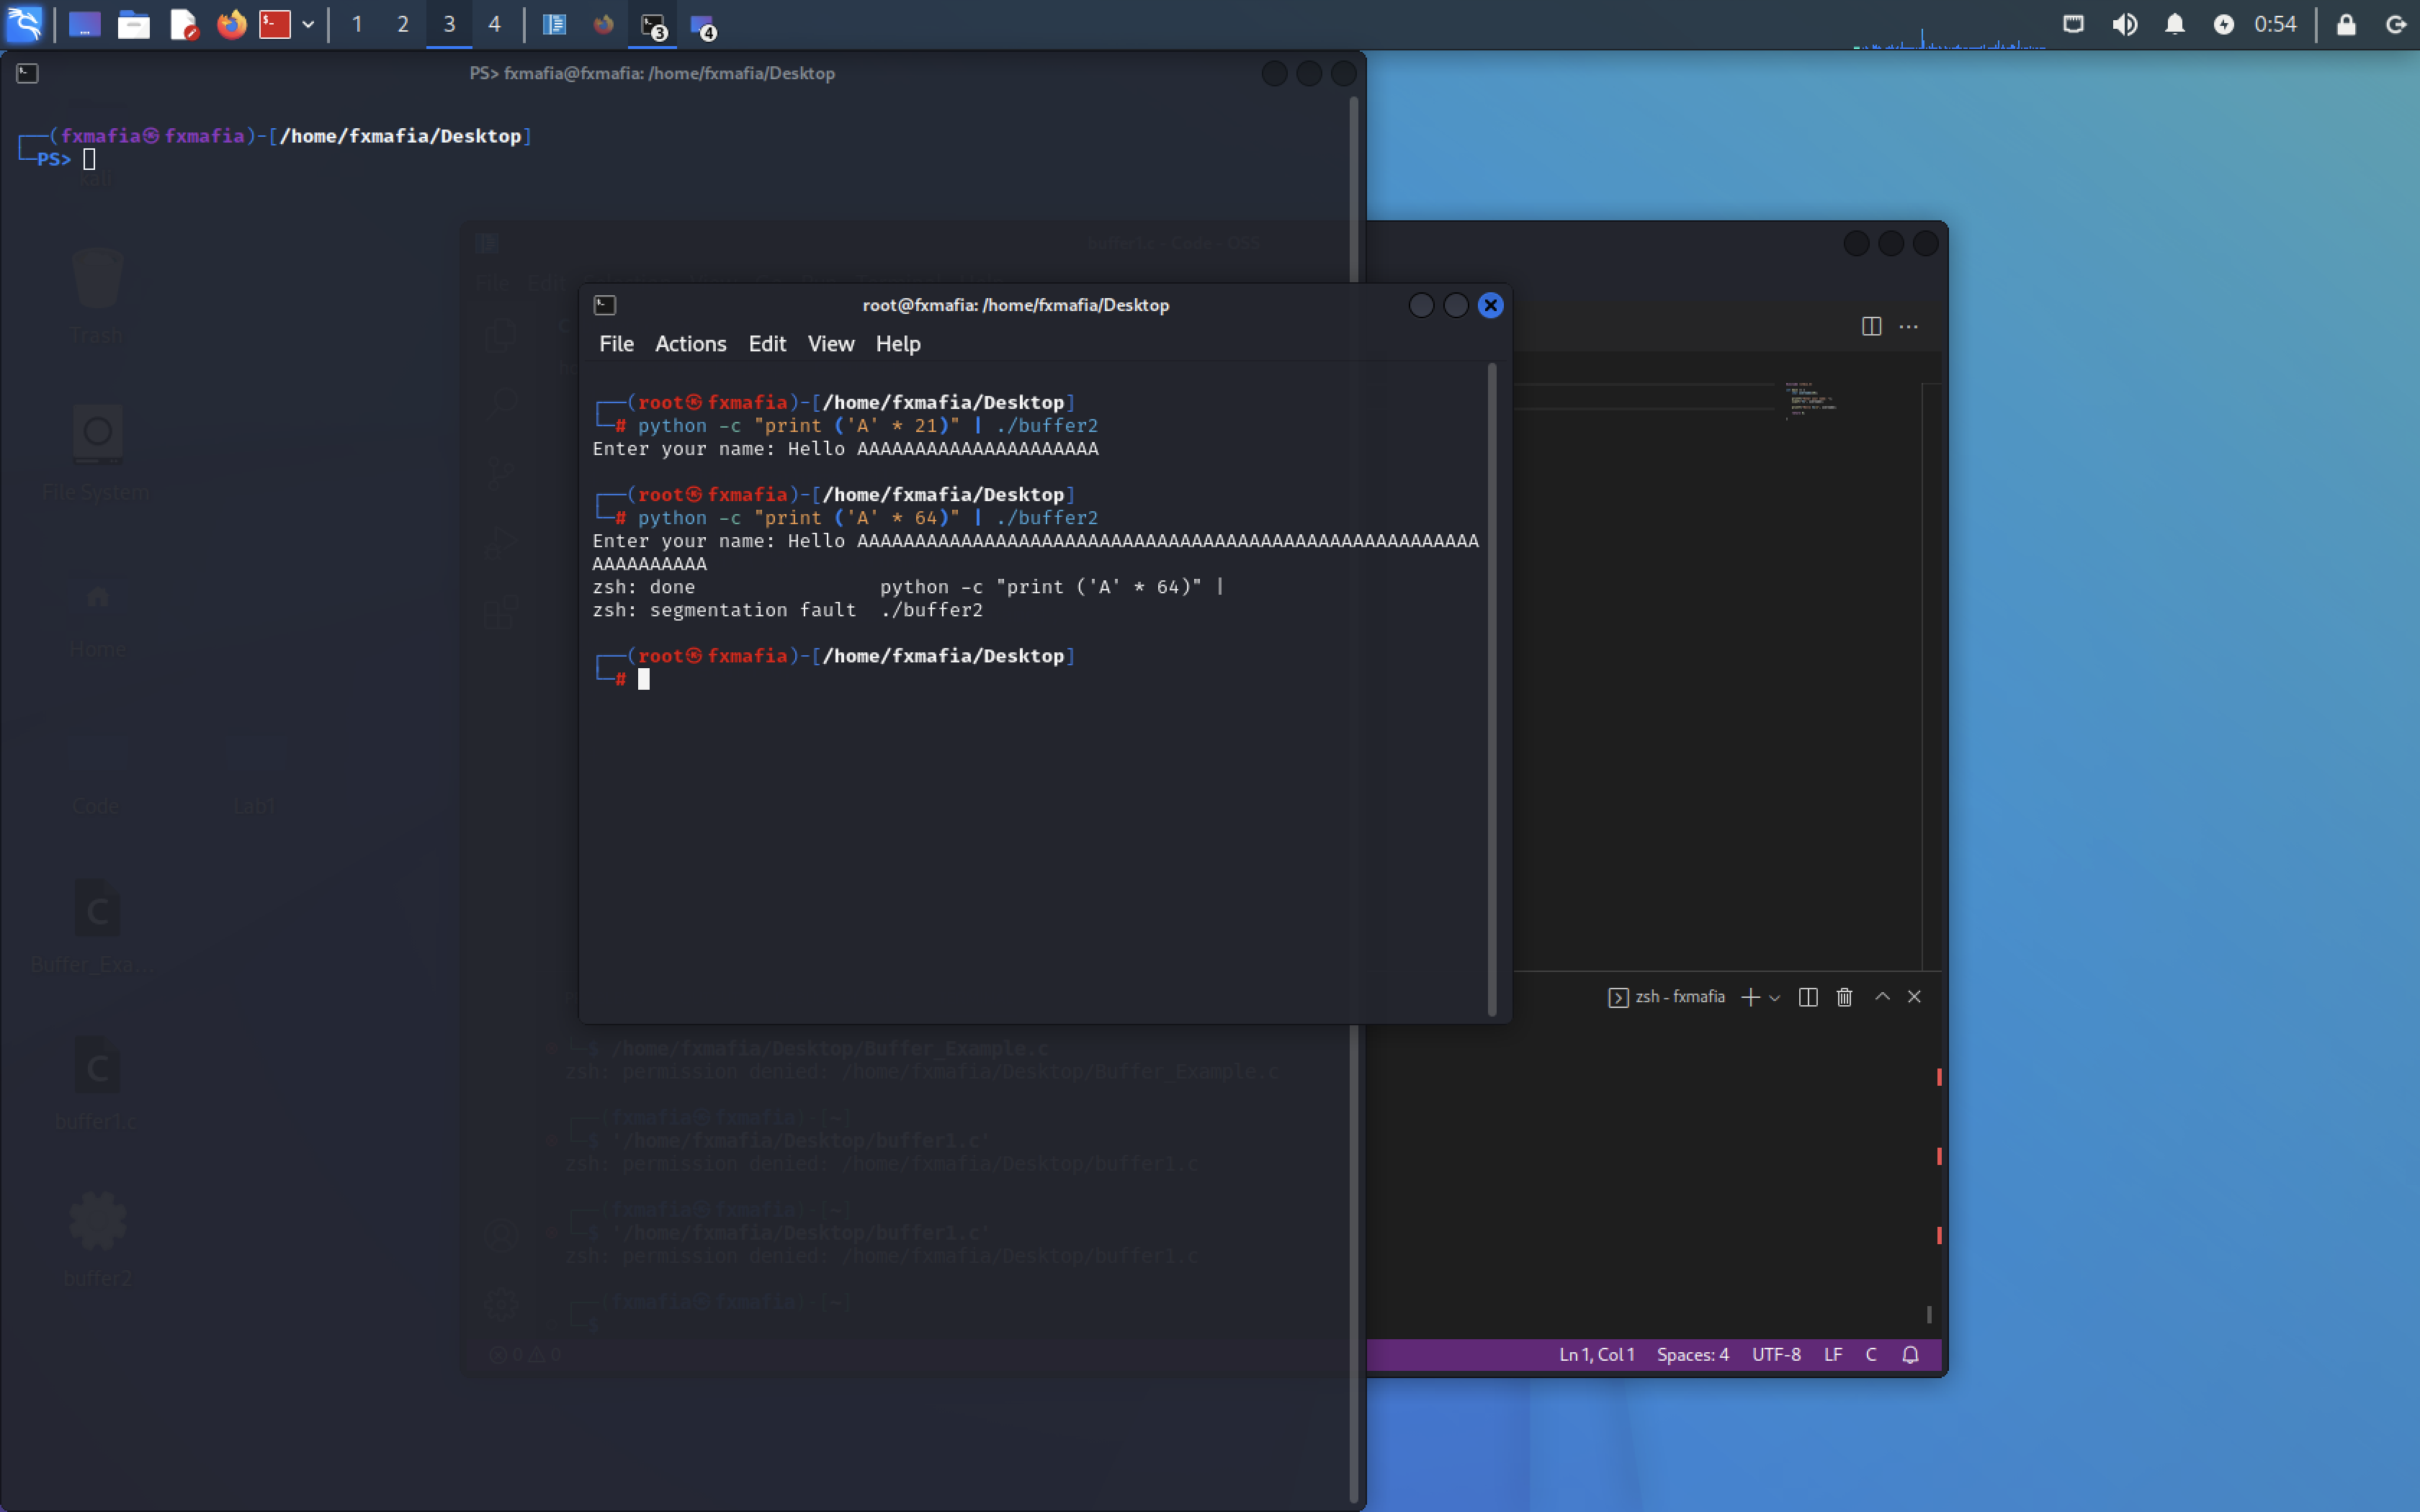
Now try the following:
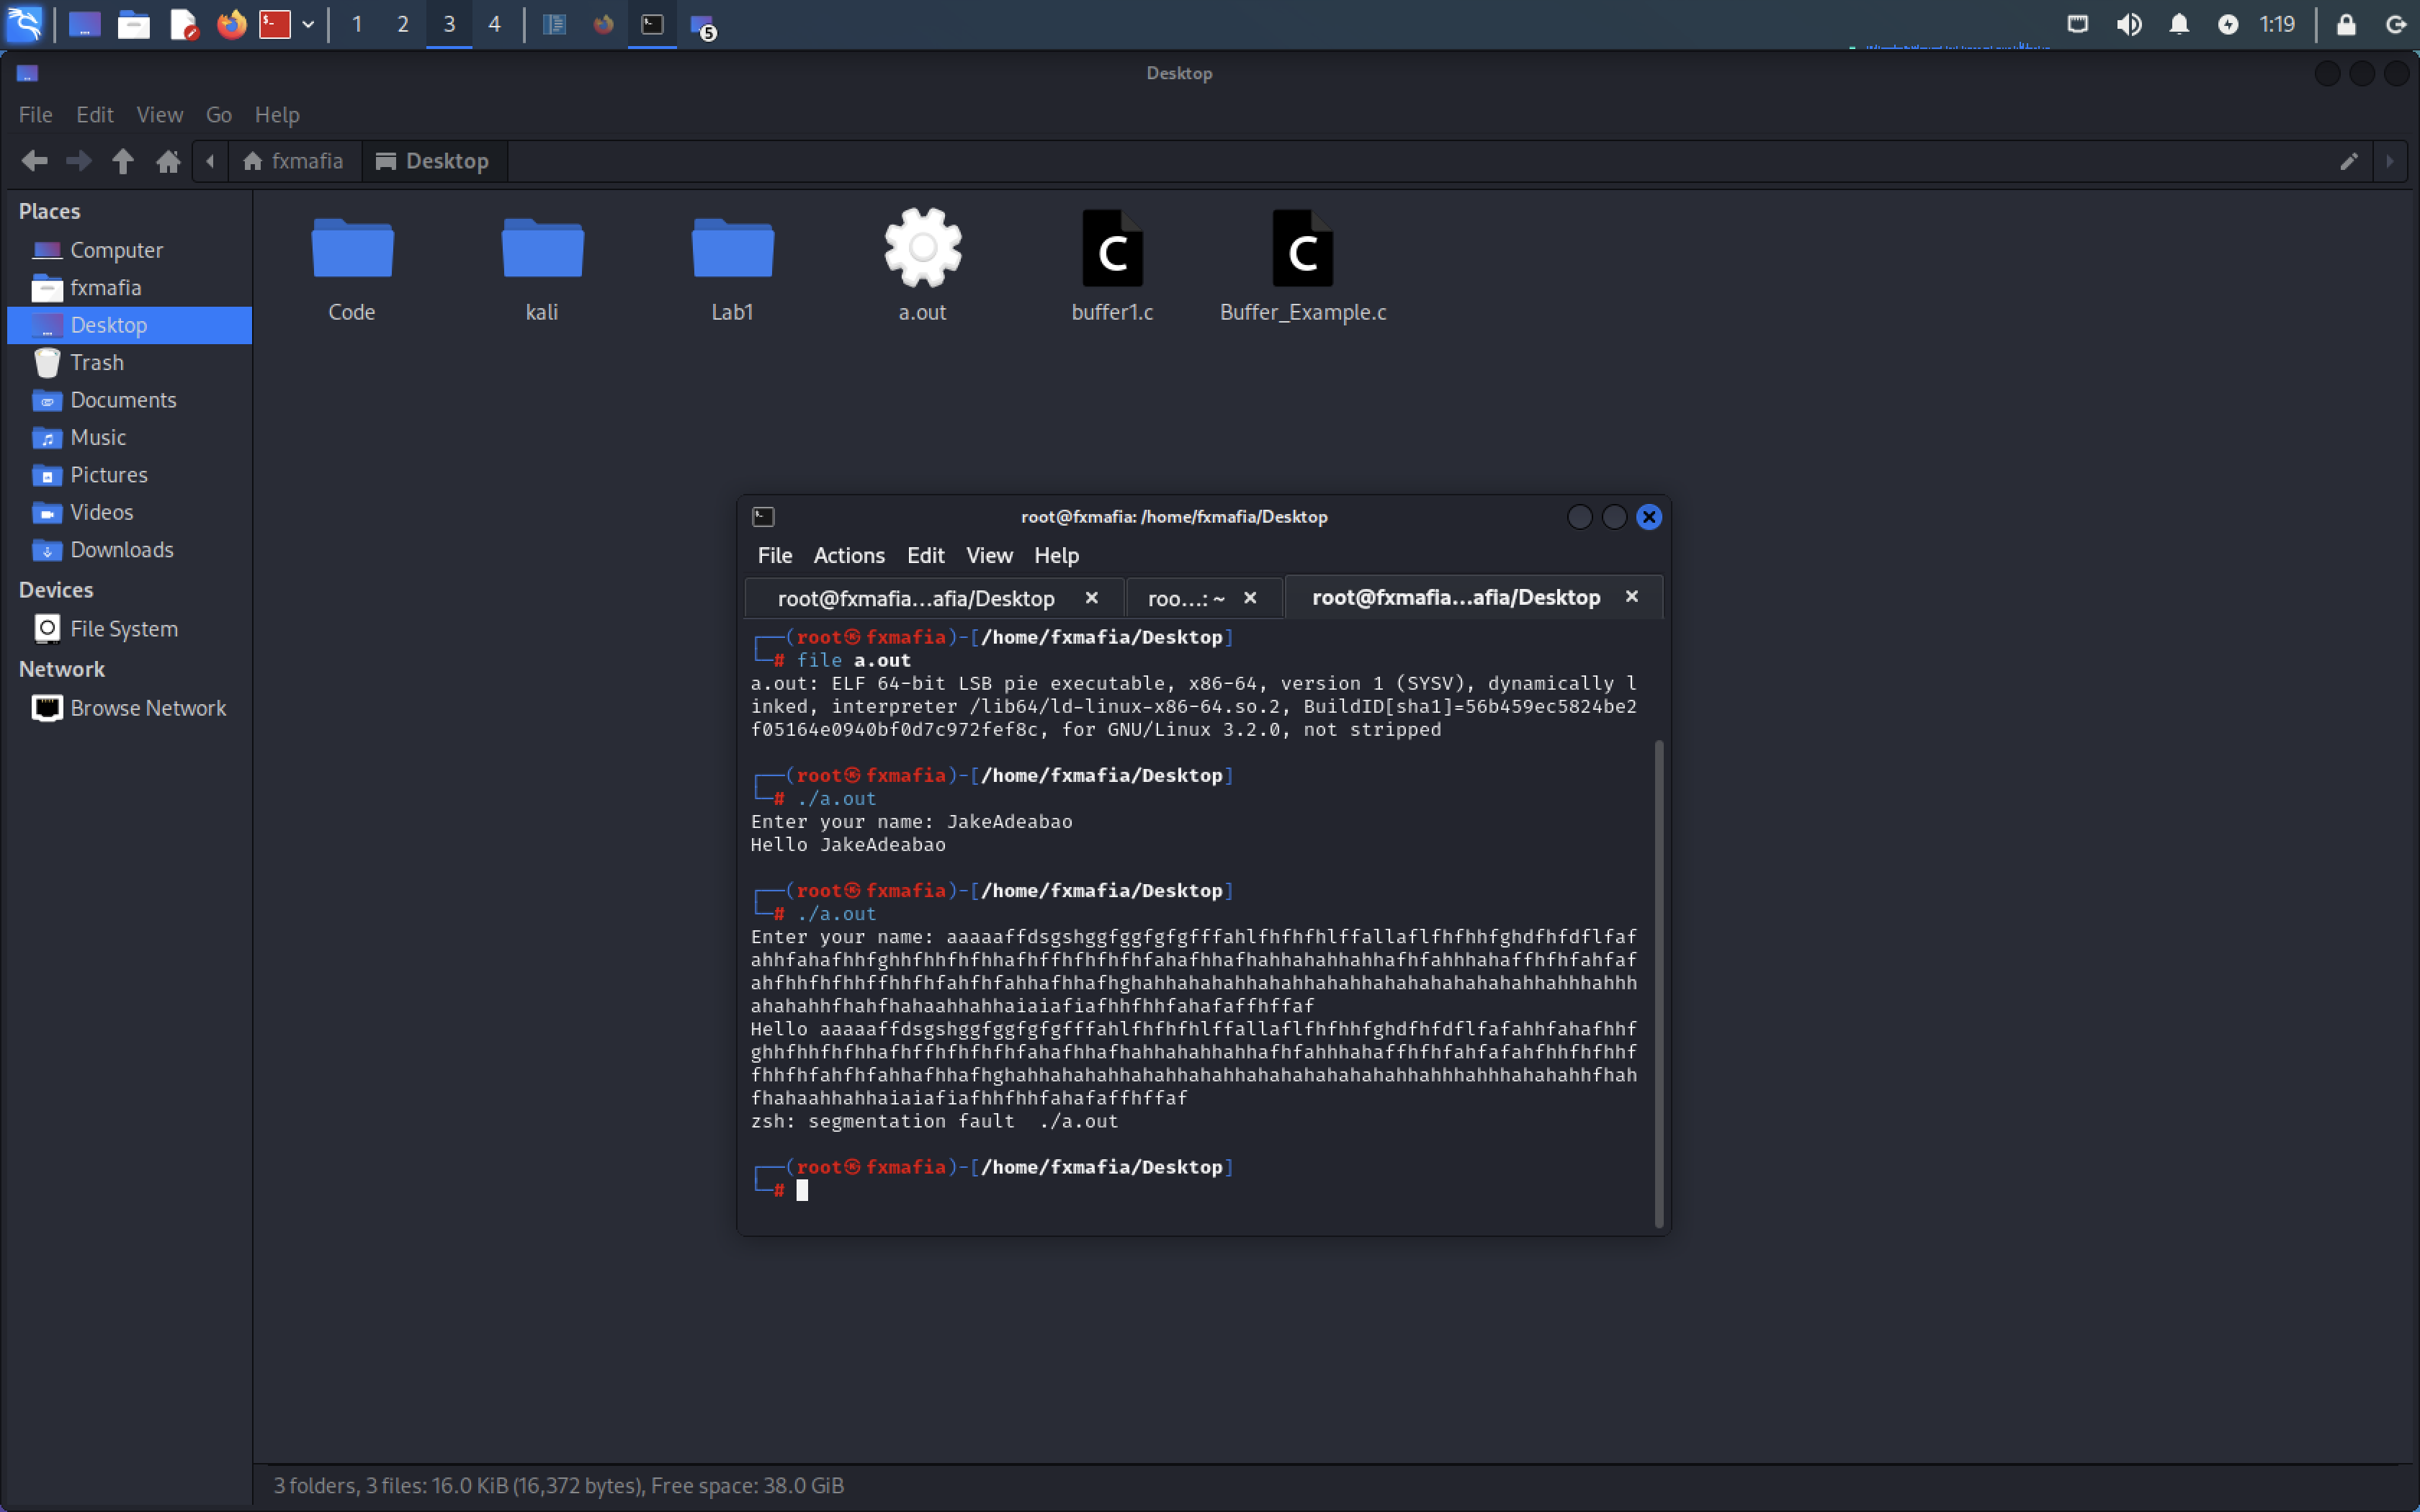
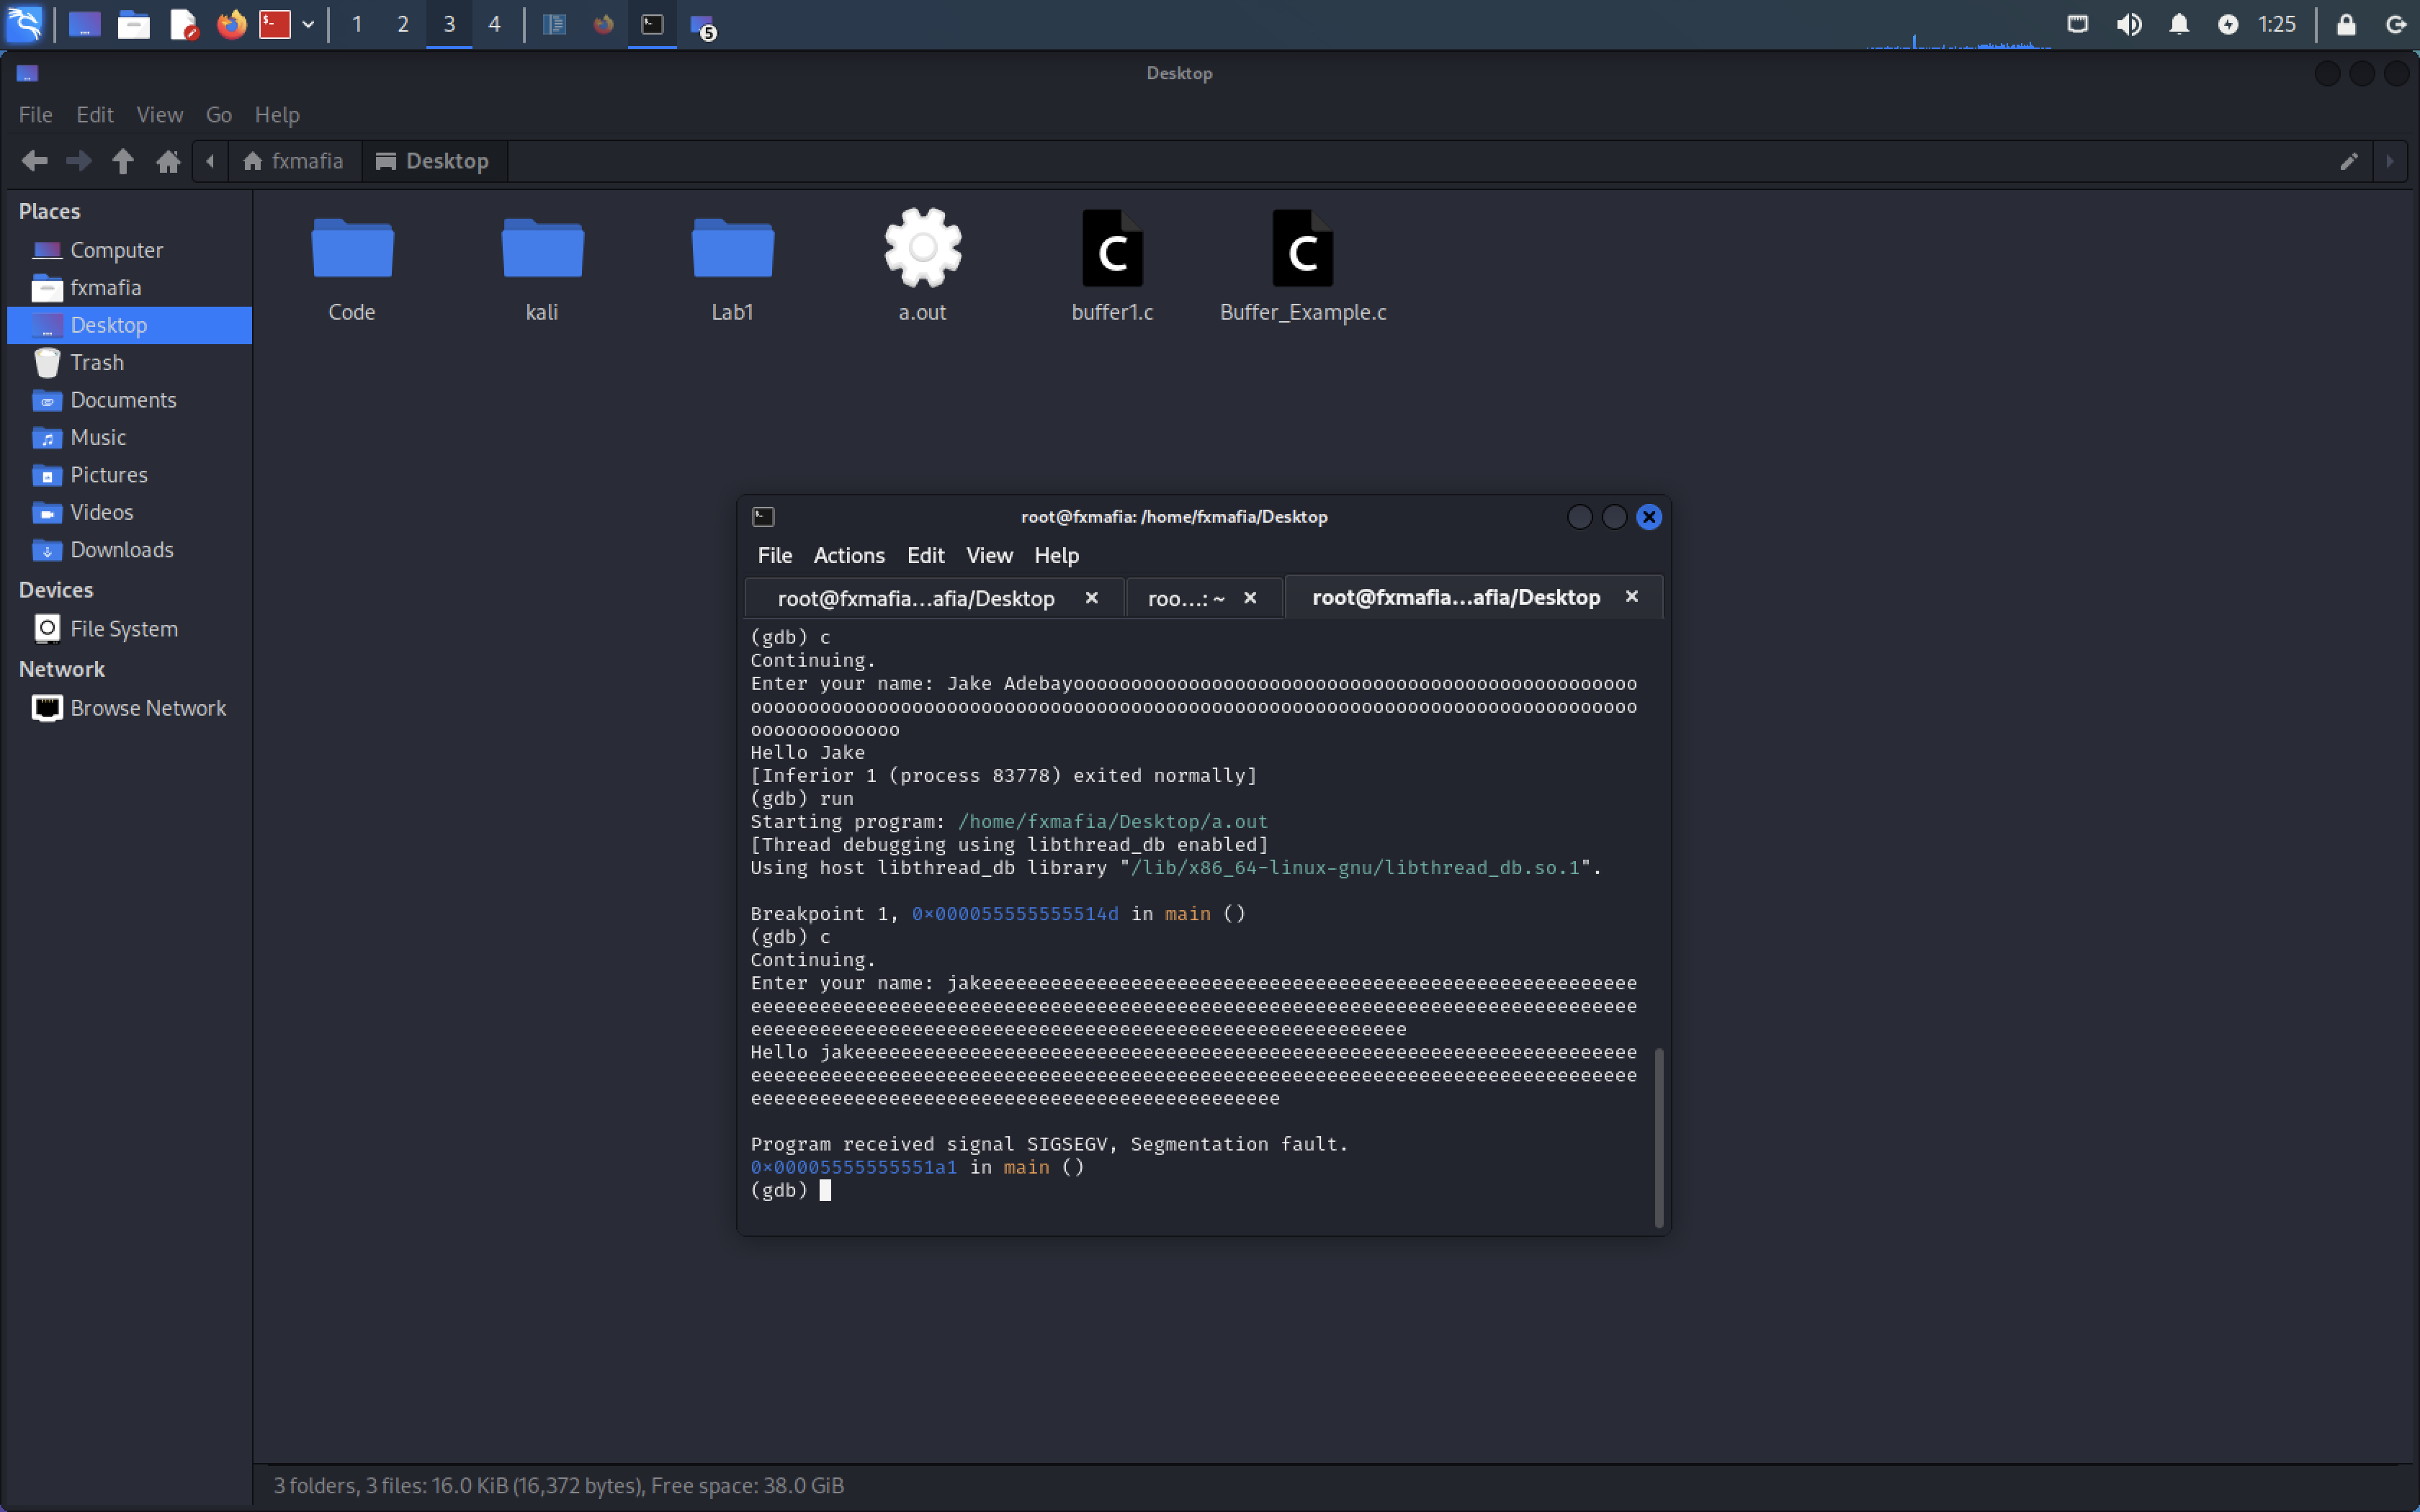
- python -c “print(‘A’ * 64)” | ./”newfilename”
Segmentation Fault! We have performed a Buffer Overflow!
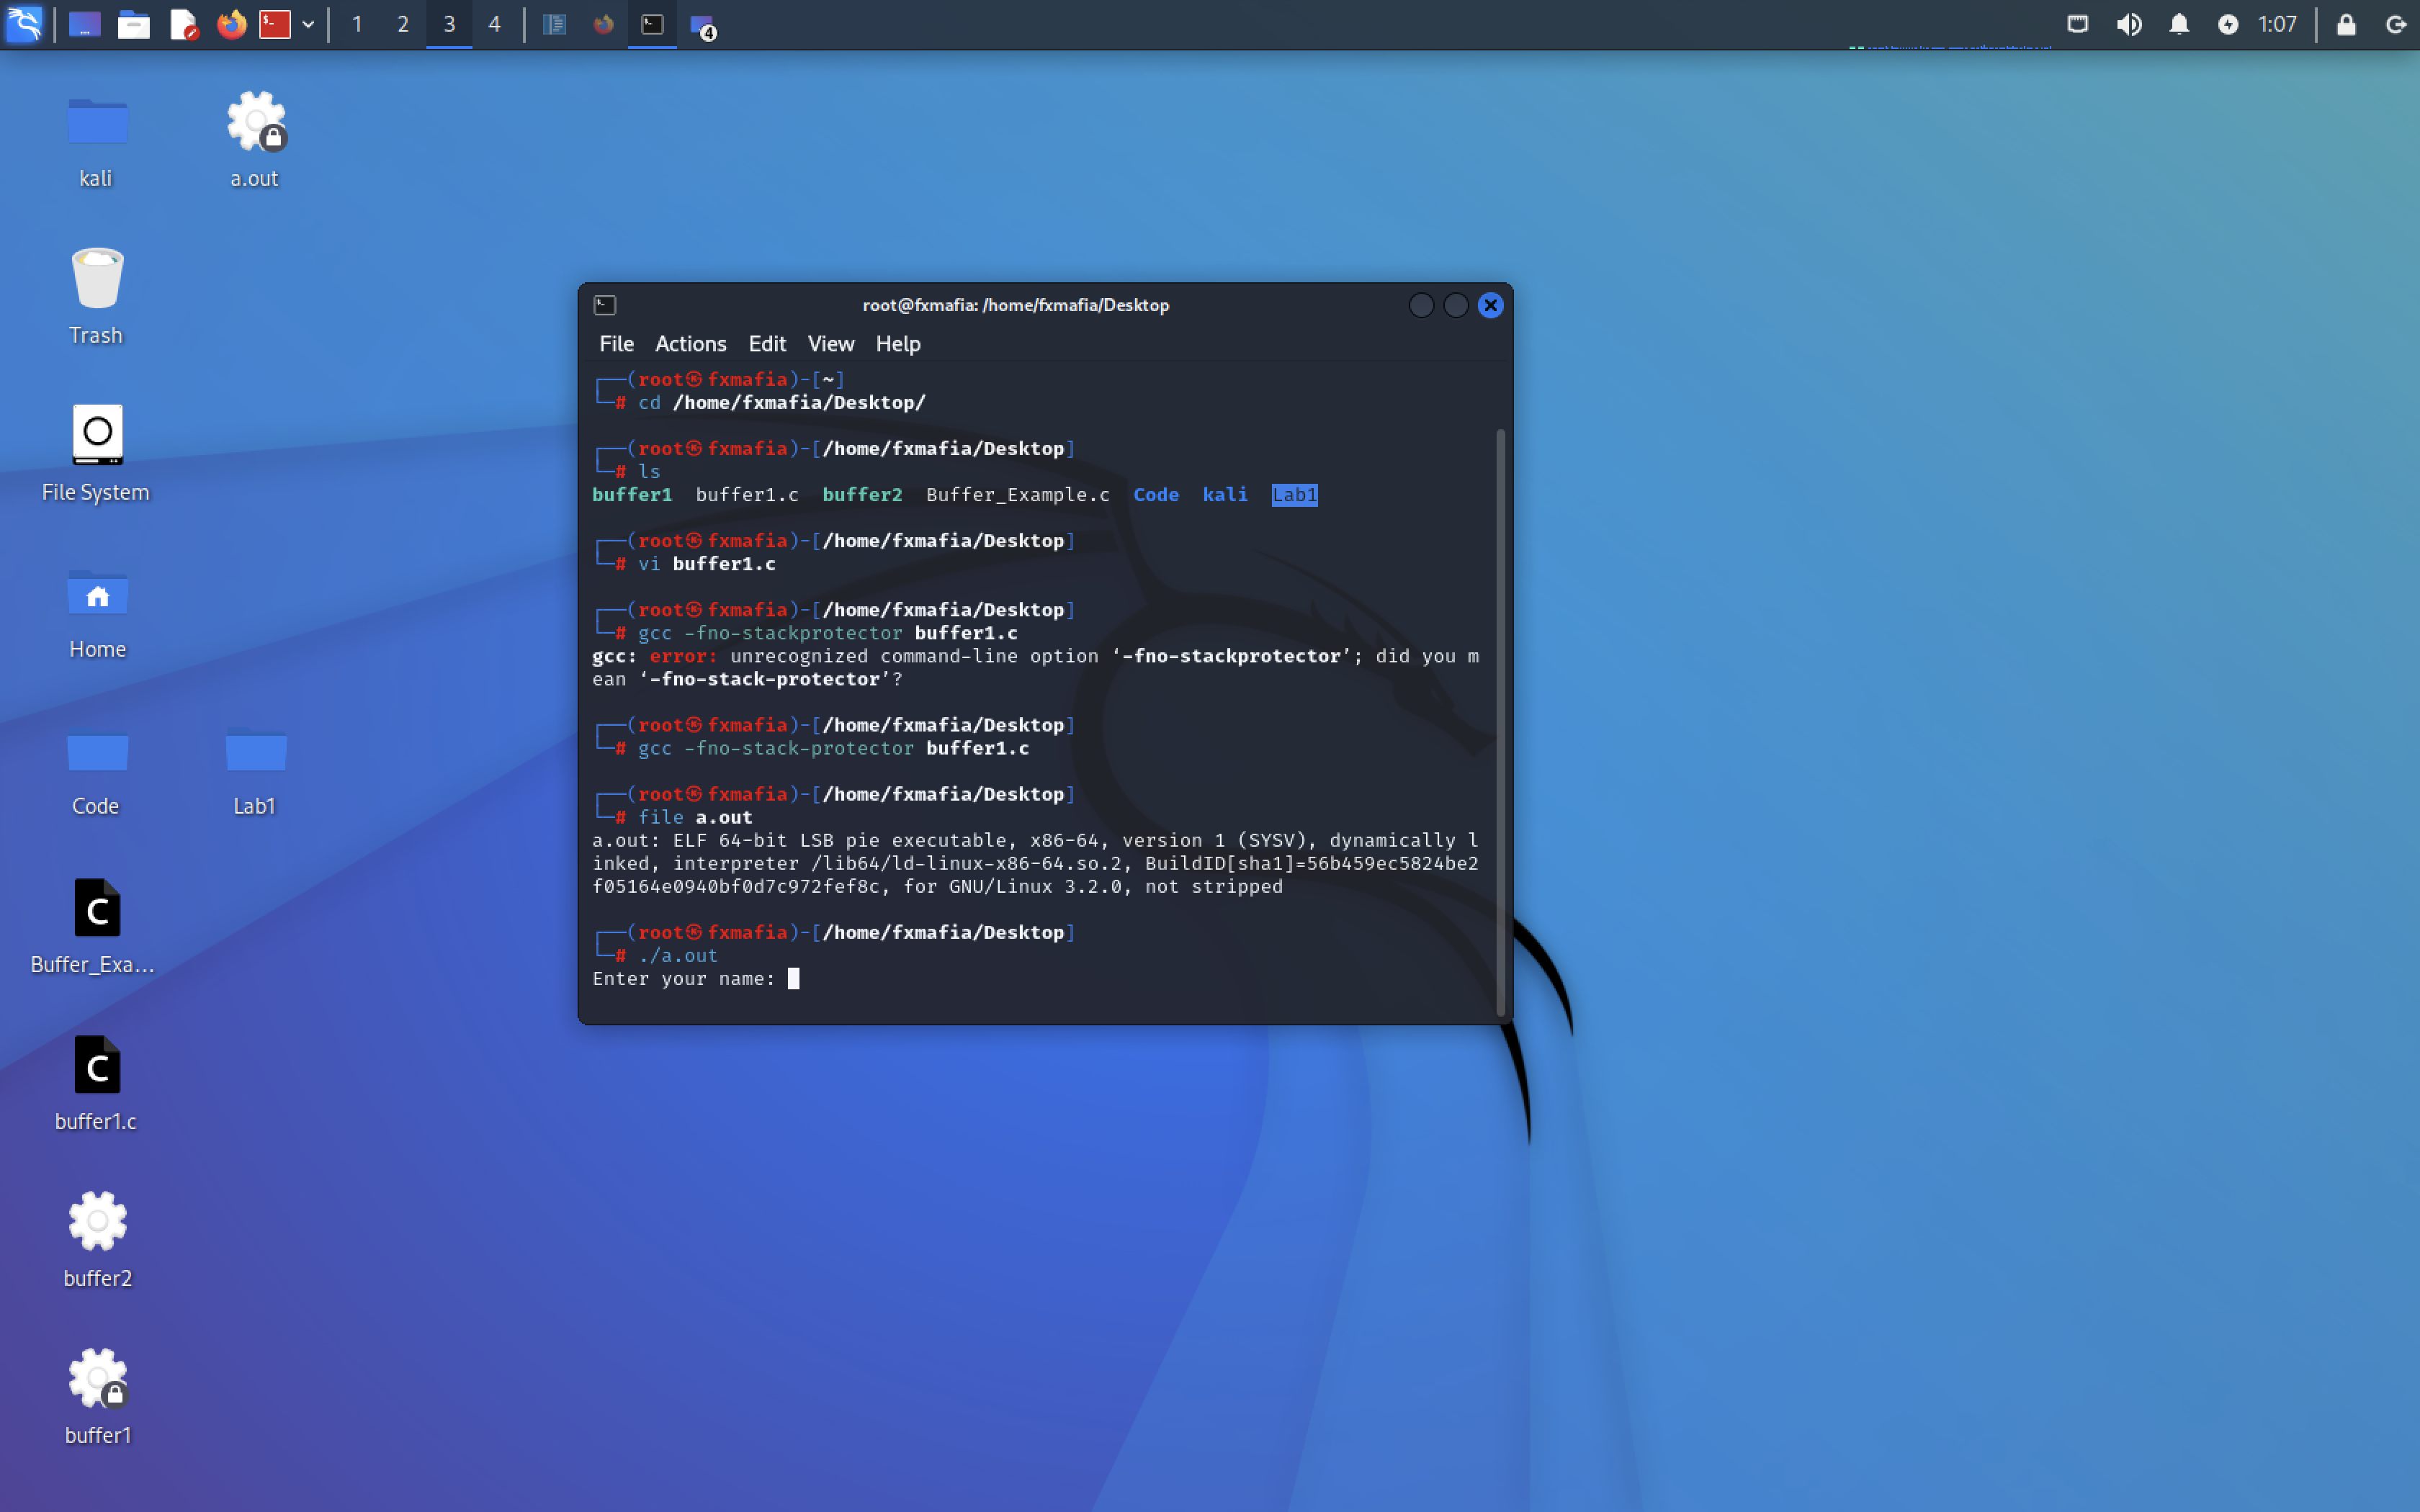
STEP 3: Compile the code and prepare the object code for the GDB debugger
To understand a Buffer Overflow, one must understand how memory works.
Type the command to get the GDB debugger: gcc -g buffer1.c -o buffer1 (Remember that buffer1.c is your file name, you can also use this command: gcc -g buffer1.c)

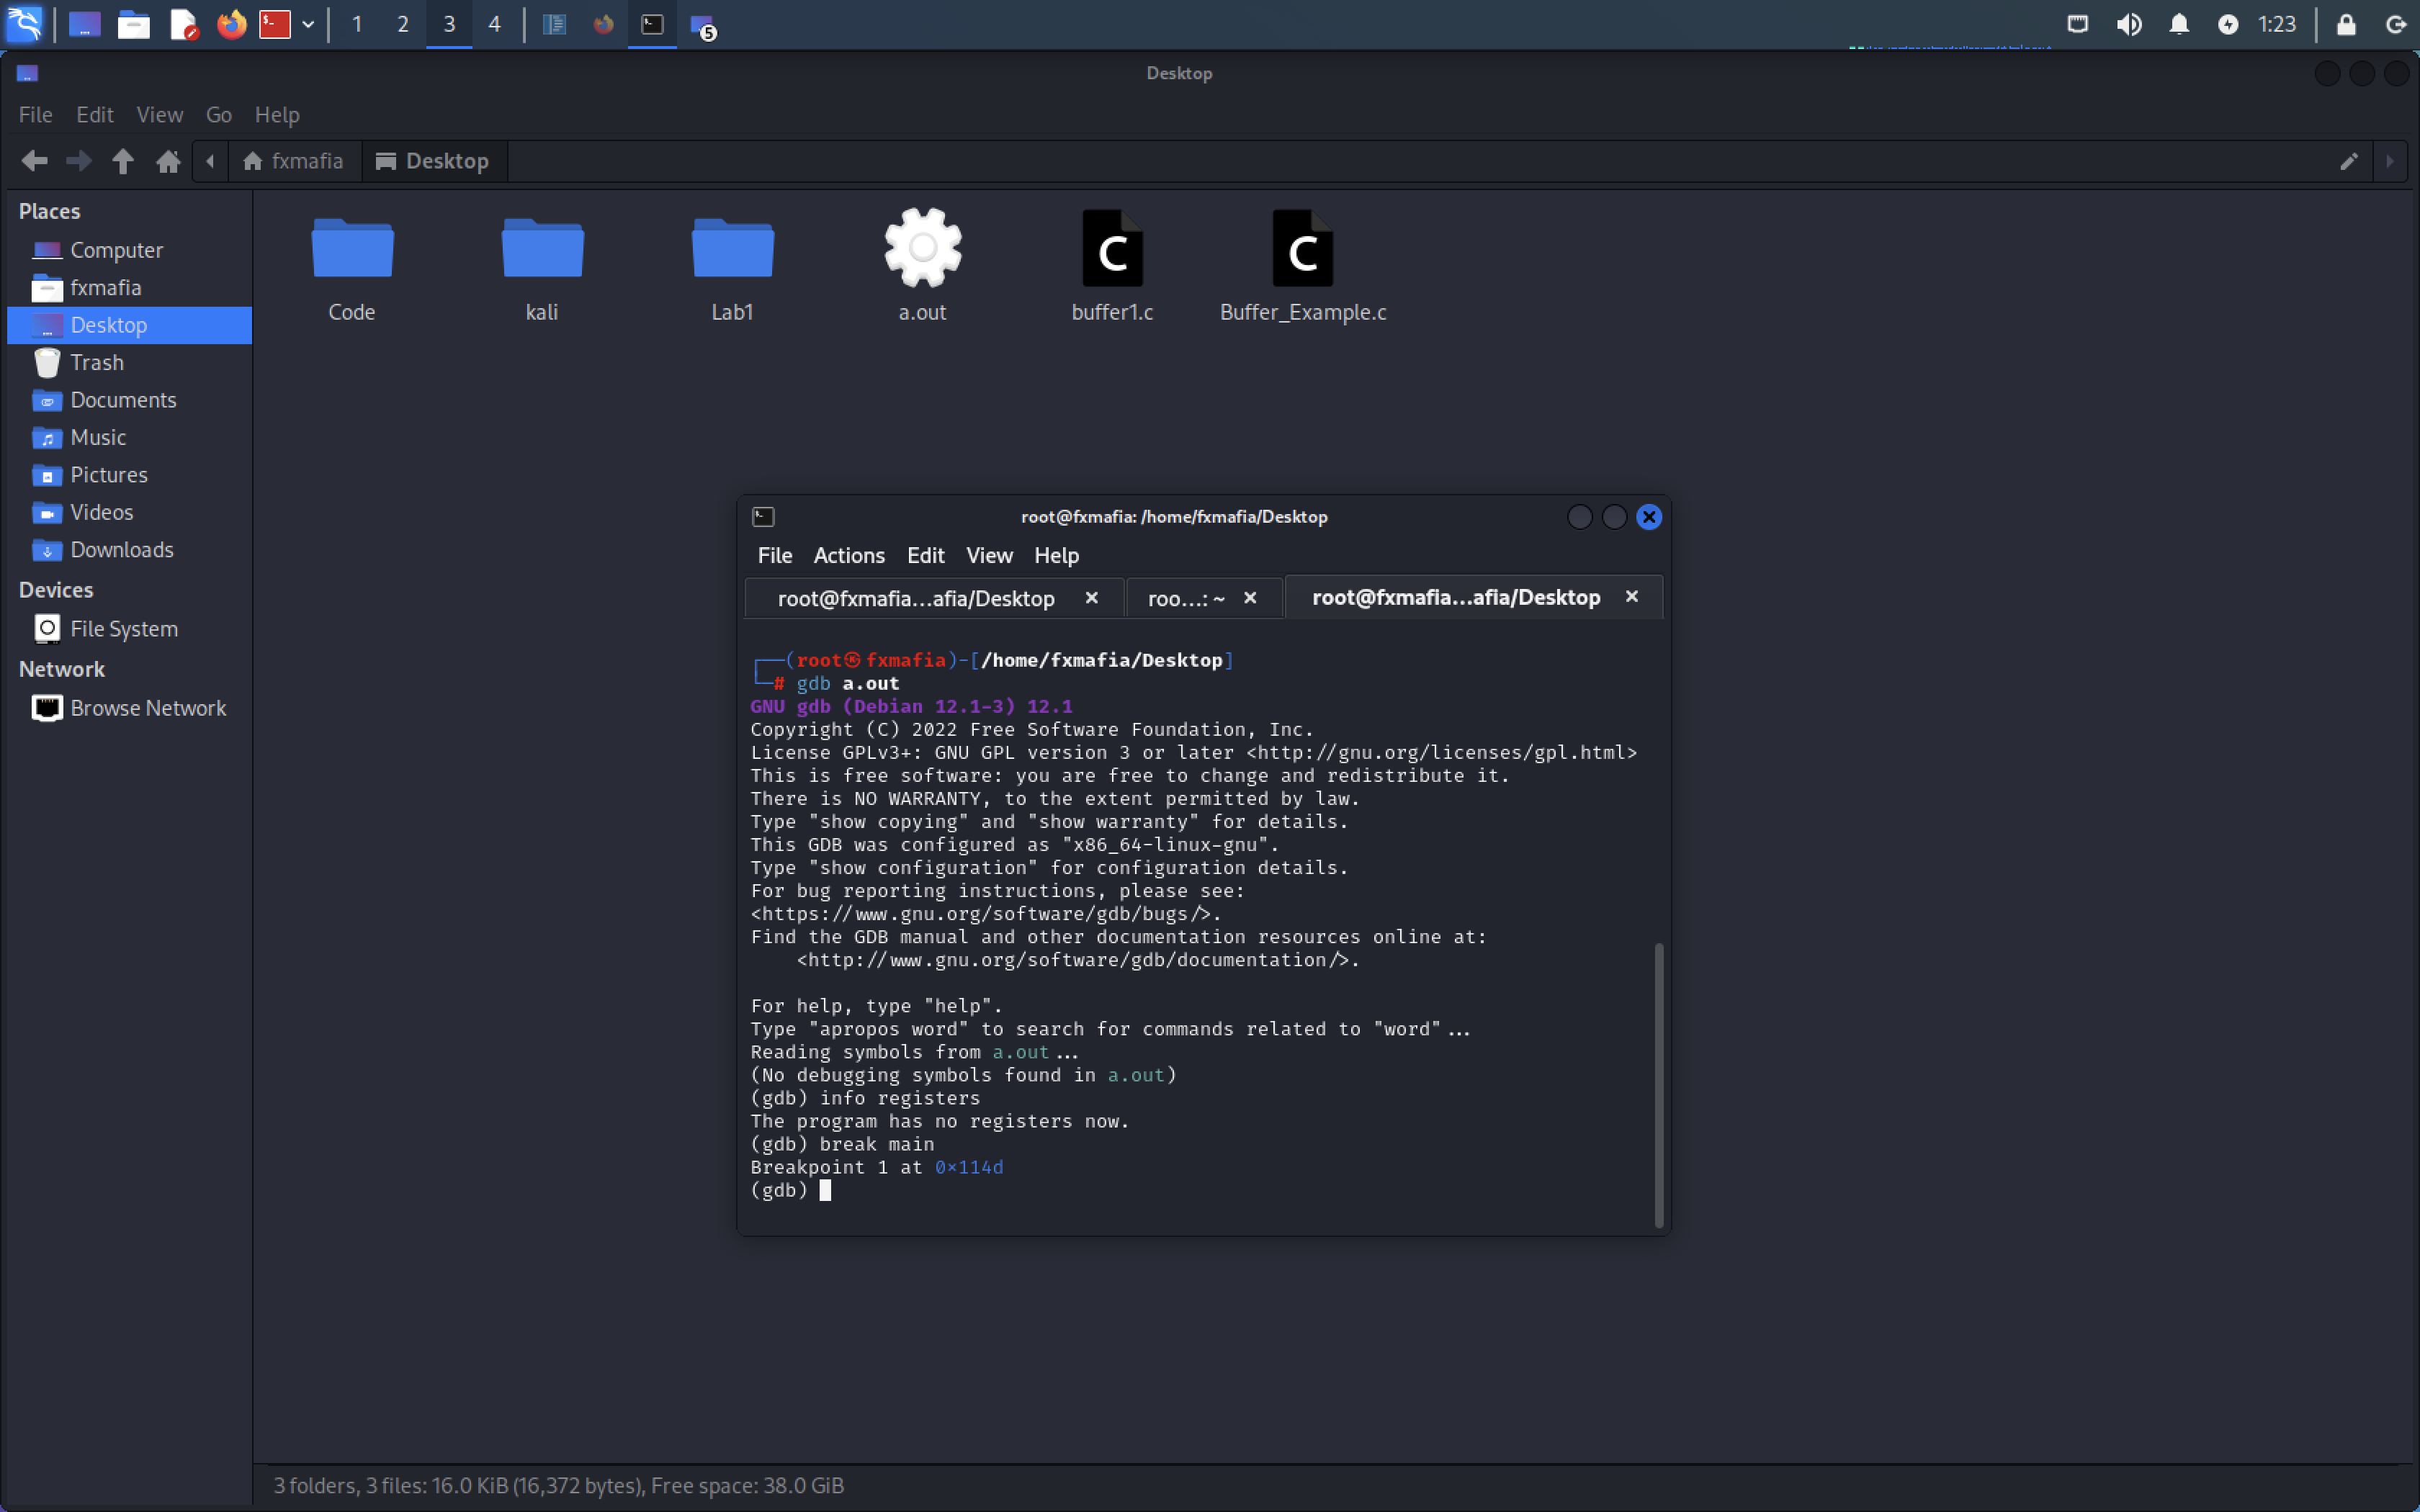
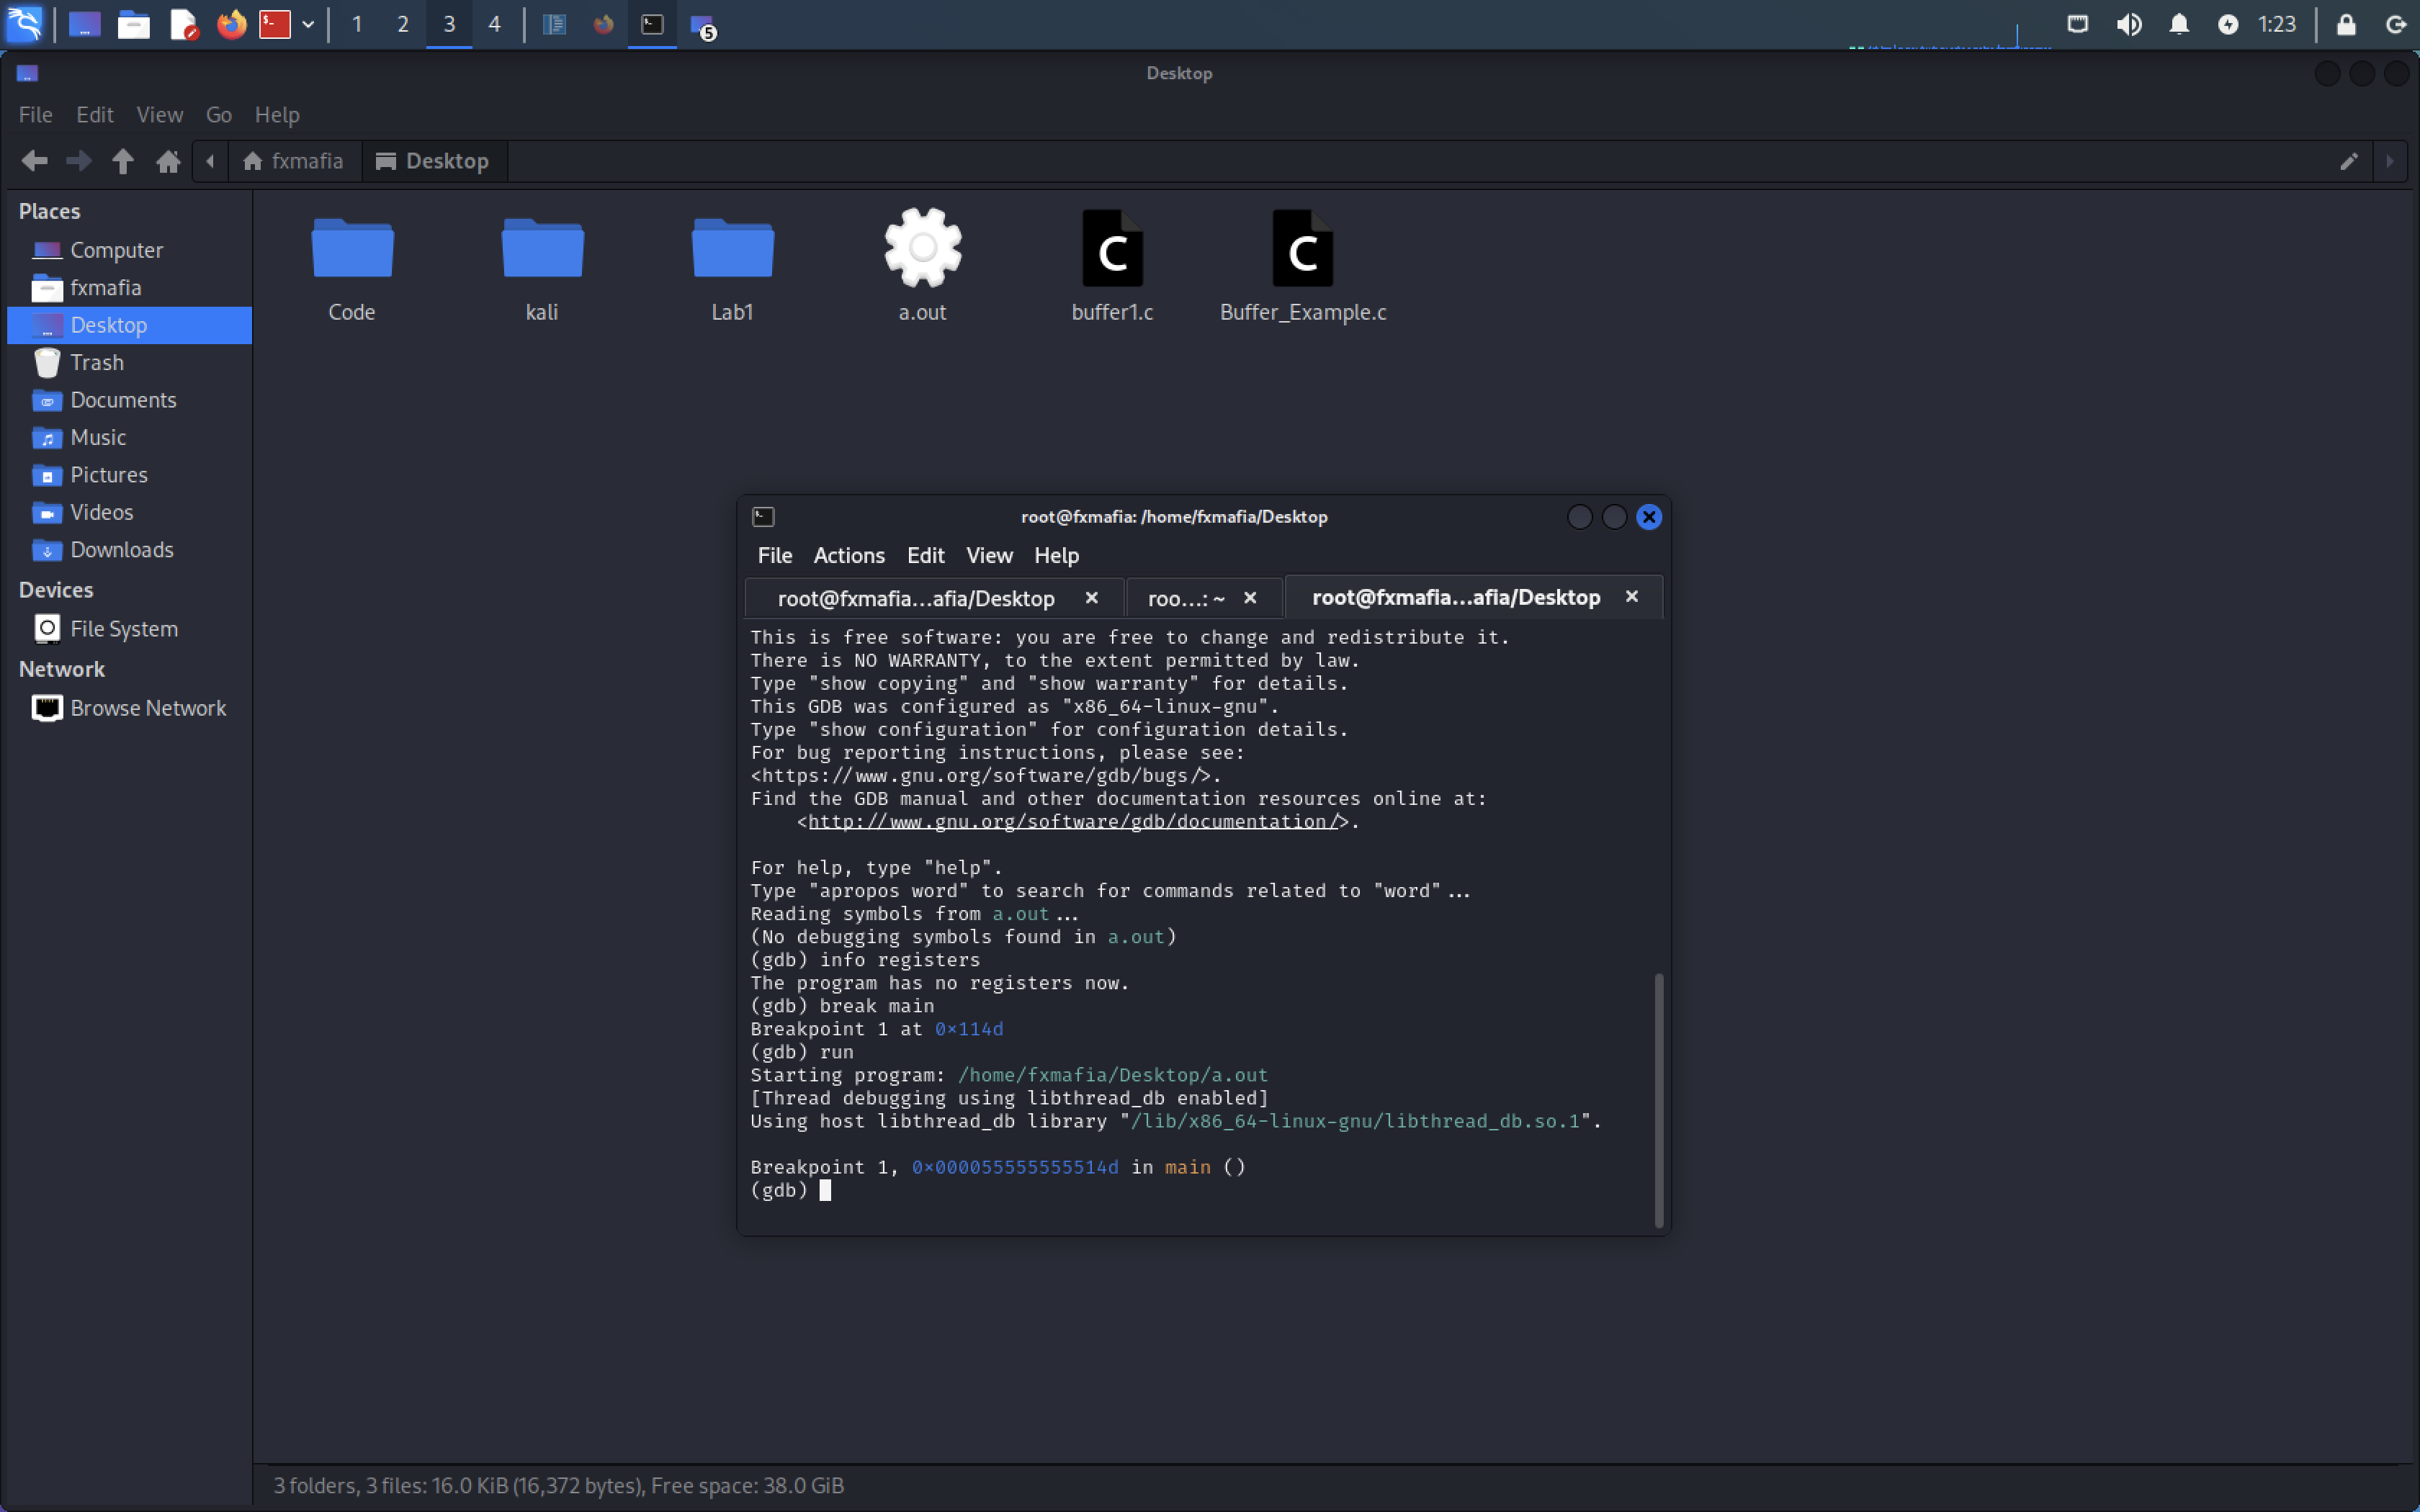
Step 4: Type the command to access the GDB: gdb a.out
Step 5: Set breaking point by executing the following commands:
- break *main
- run
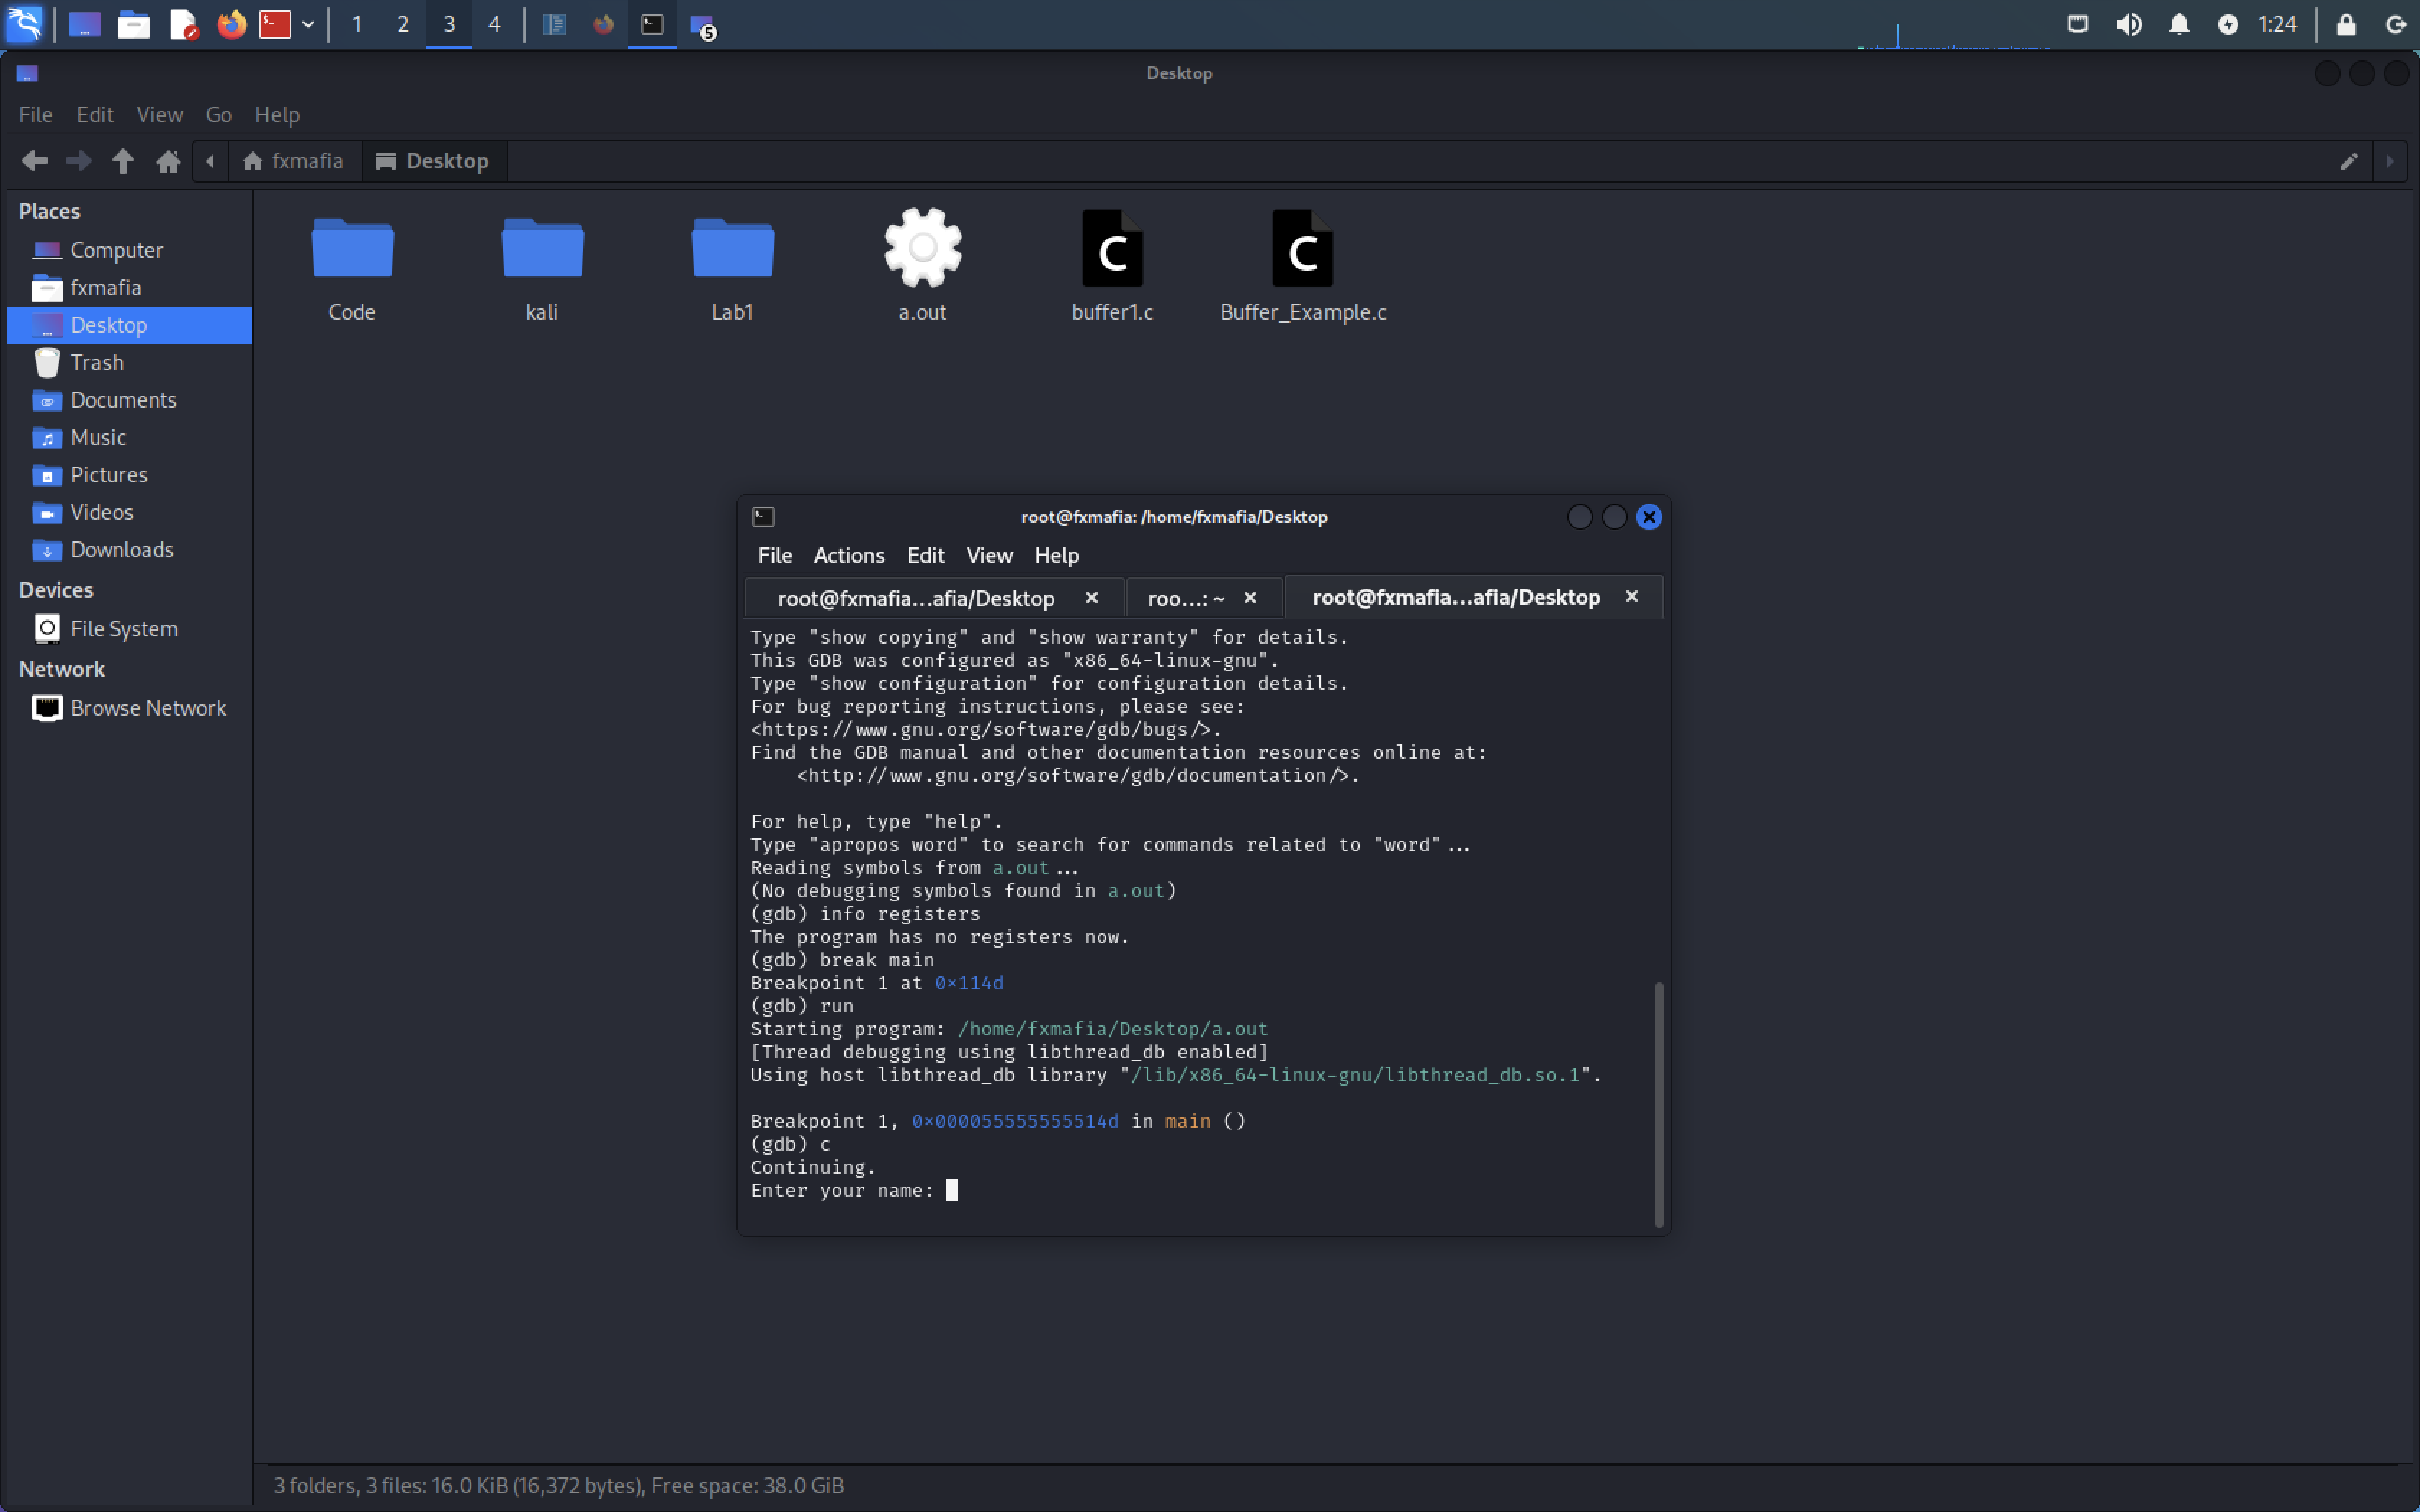
- c
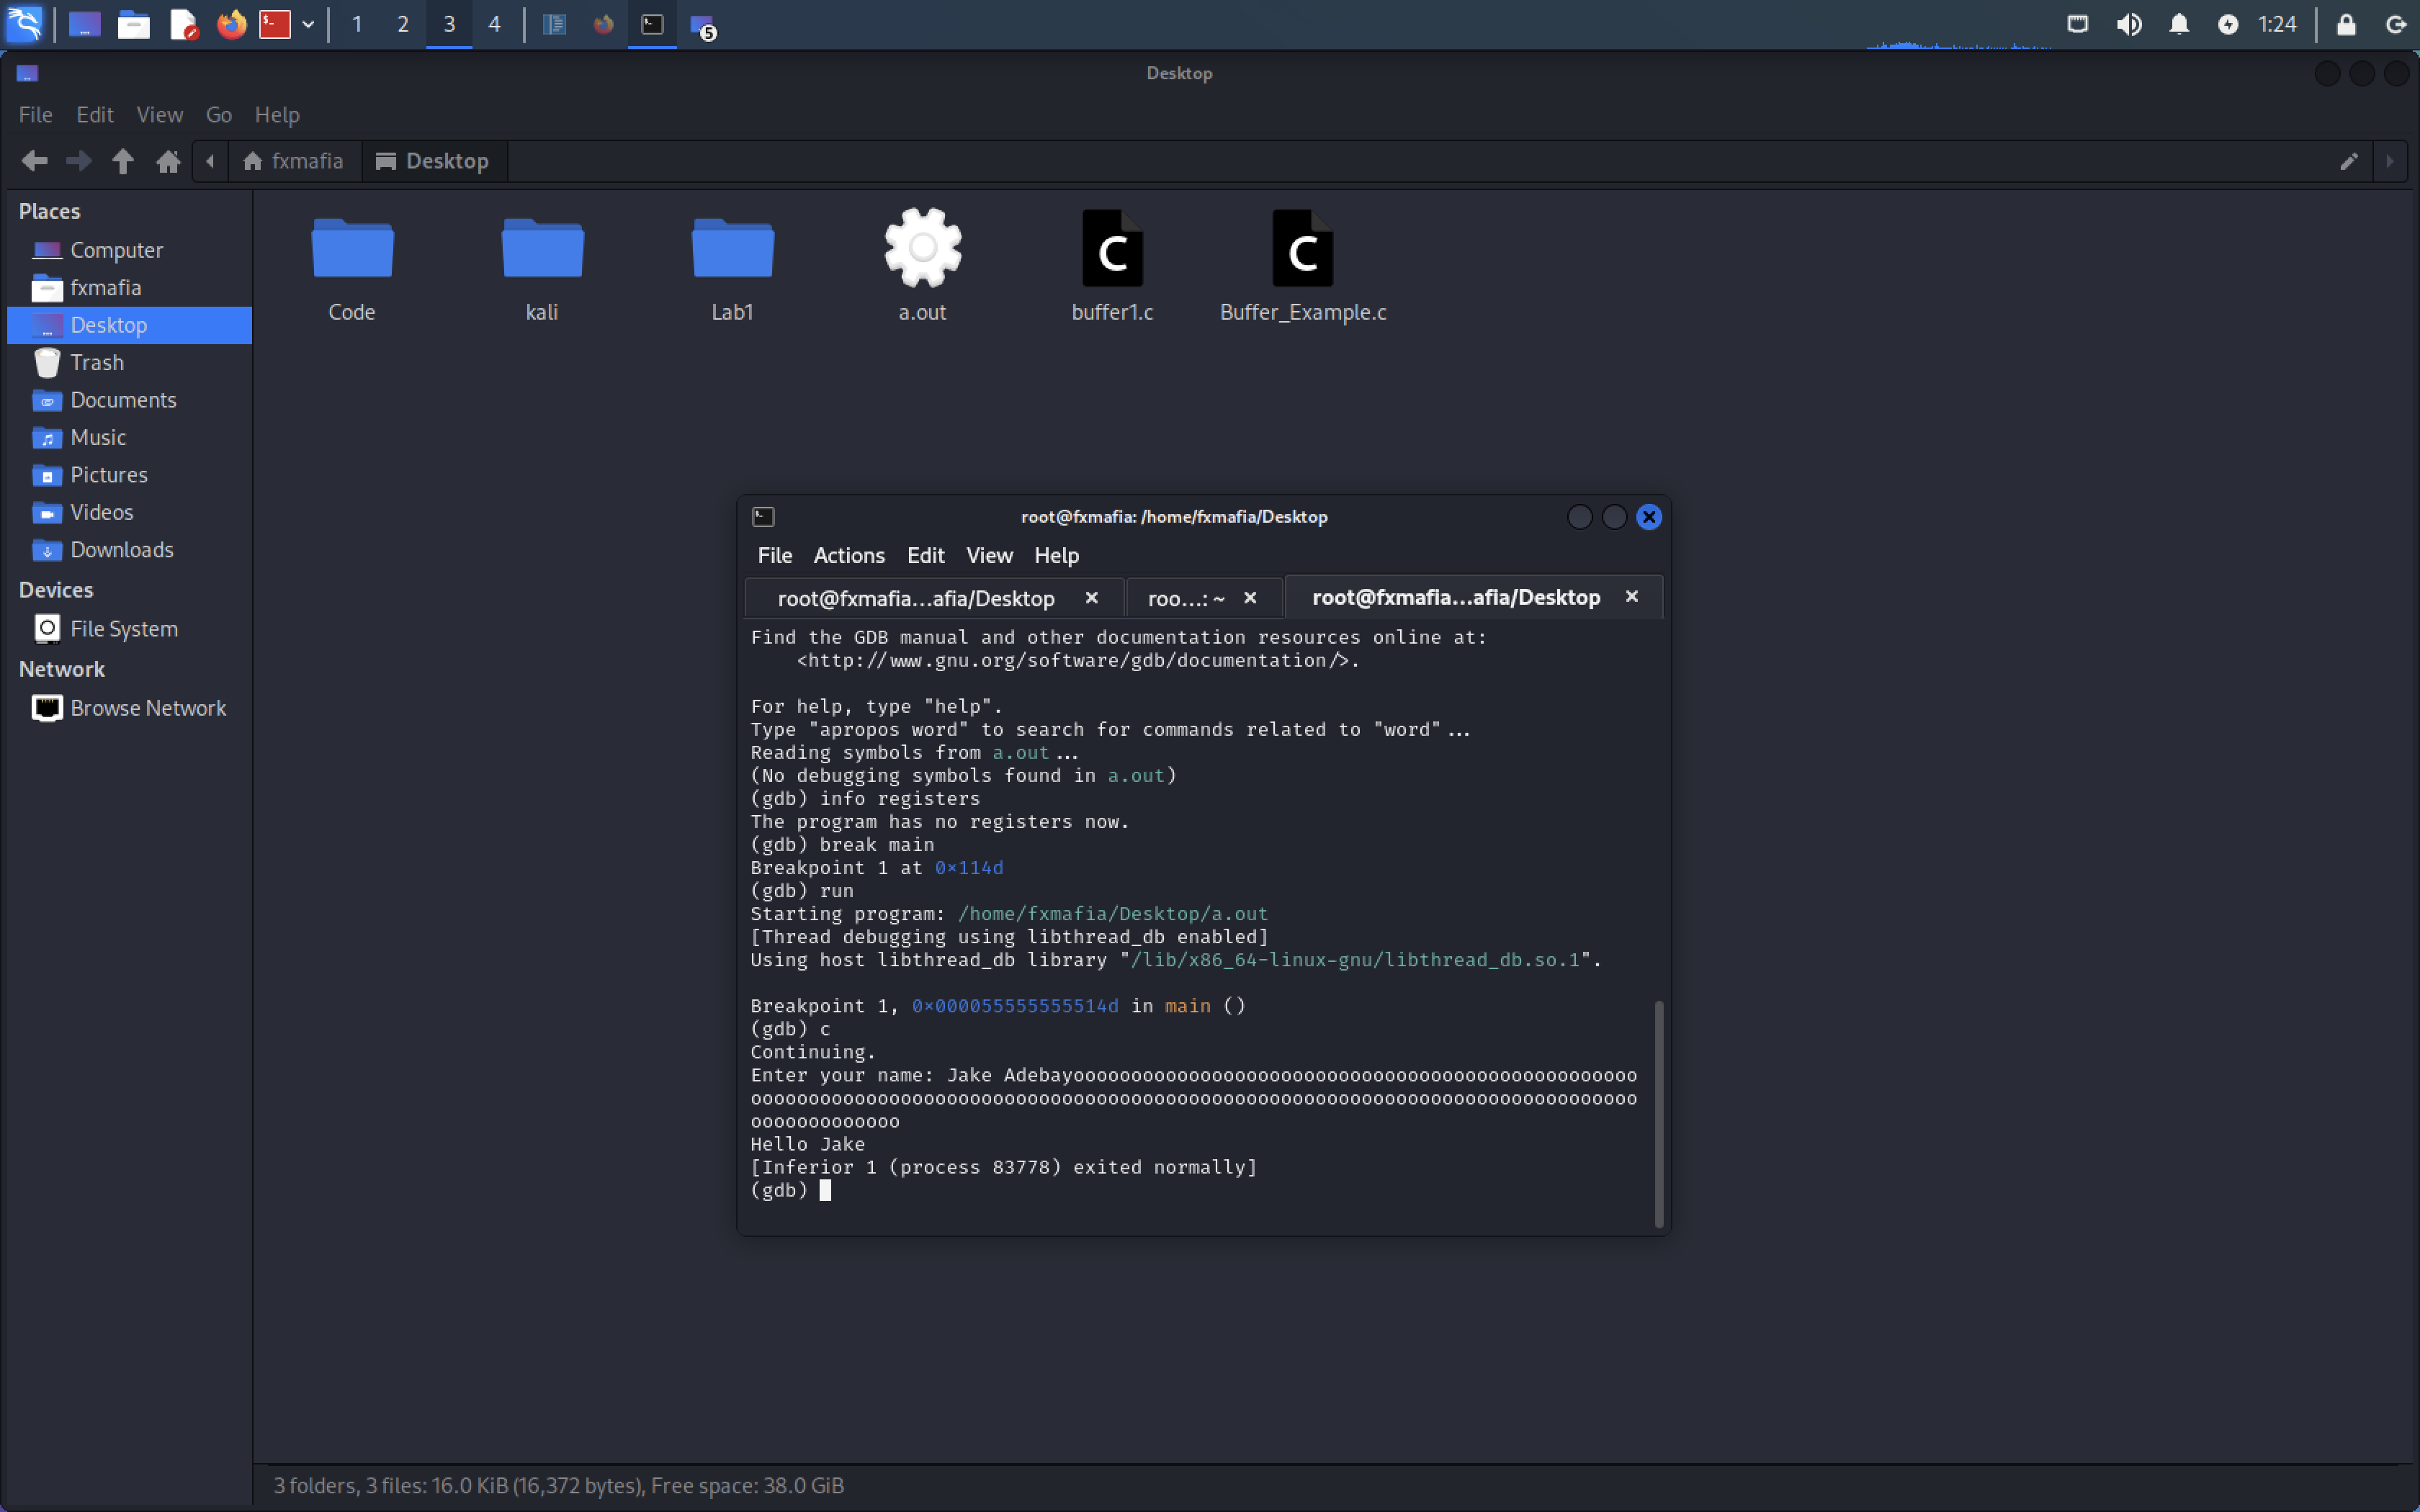
- Input AAA,,,,, to over flow the register
- Info registers
In Figure , we can see the RBP register the base pointer has been overwritten with 0x41, the ascii value for ‘A’.

Step 6: Change ‘scanf‘ in the program to ‘fgets‘ to mitigate the buffer overflow in the script
STEP 7 (Why do we care?):
So far, we have only seen our Buffer Overflow crashing the program, but the danger lies in the registers RBP and RSP (Register Stack Pointer). Using a Buffer Overflow, you can manipulate the buffer in a way to change the values of these registers, RBP and RSP, to point to other locations. These locations can be other functions, thus revealing sensitive data, or even reverse shells.
STEP 8 (How Do We Mitigate It?):
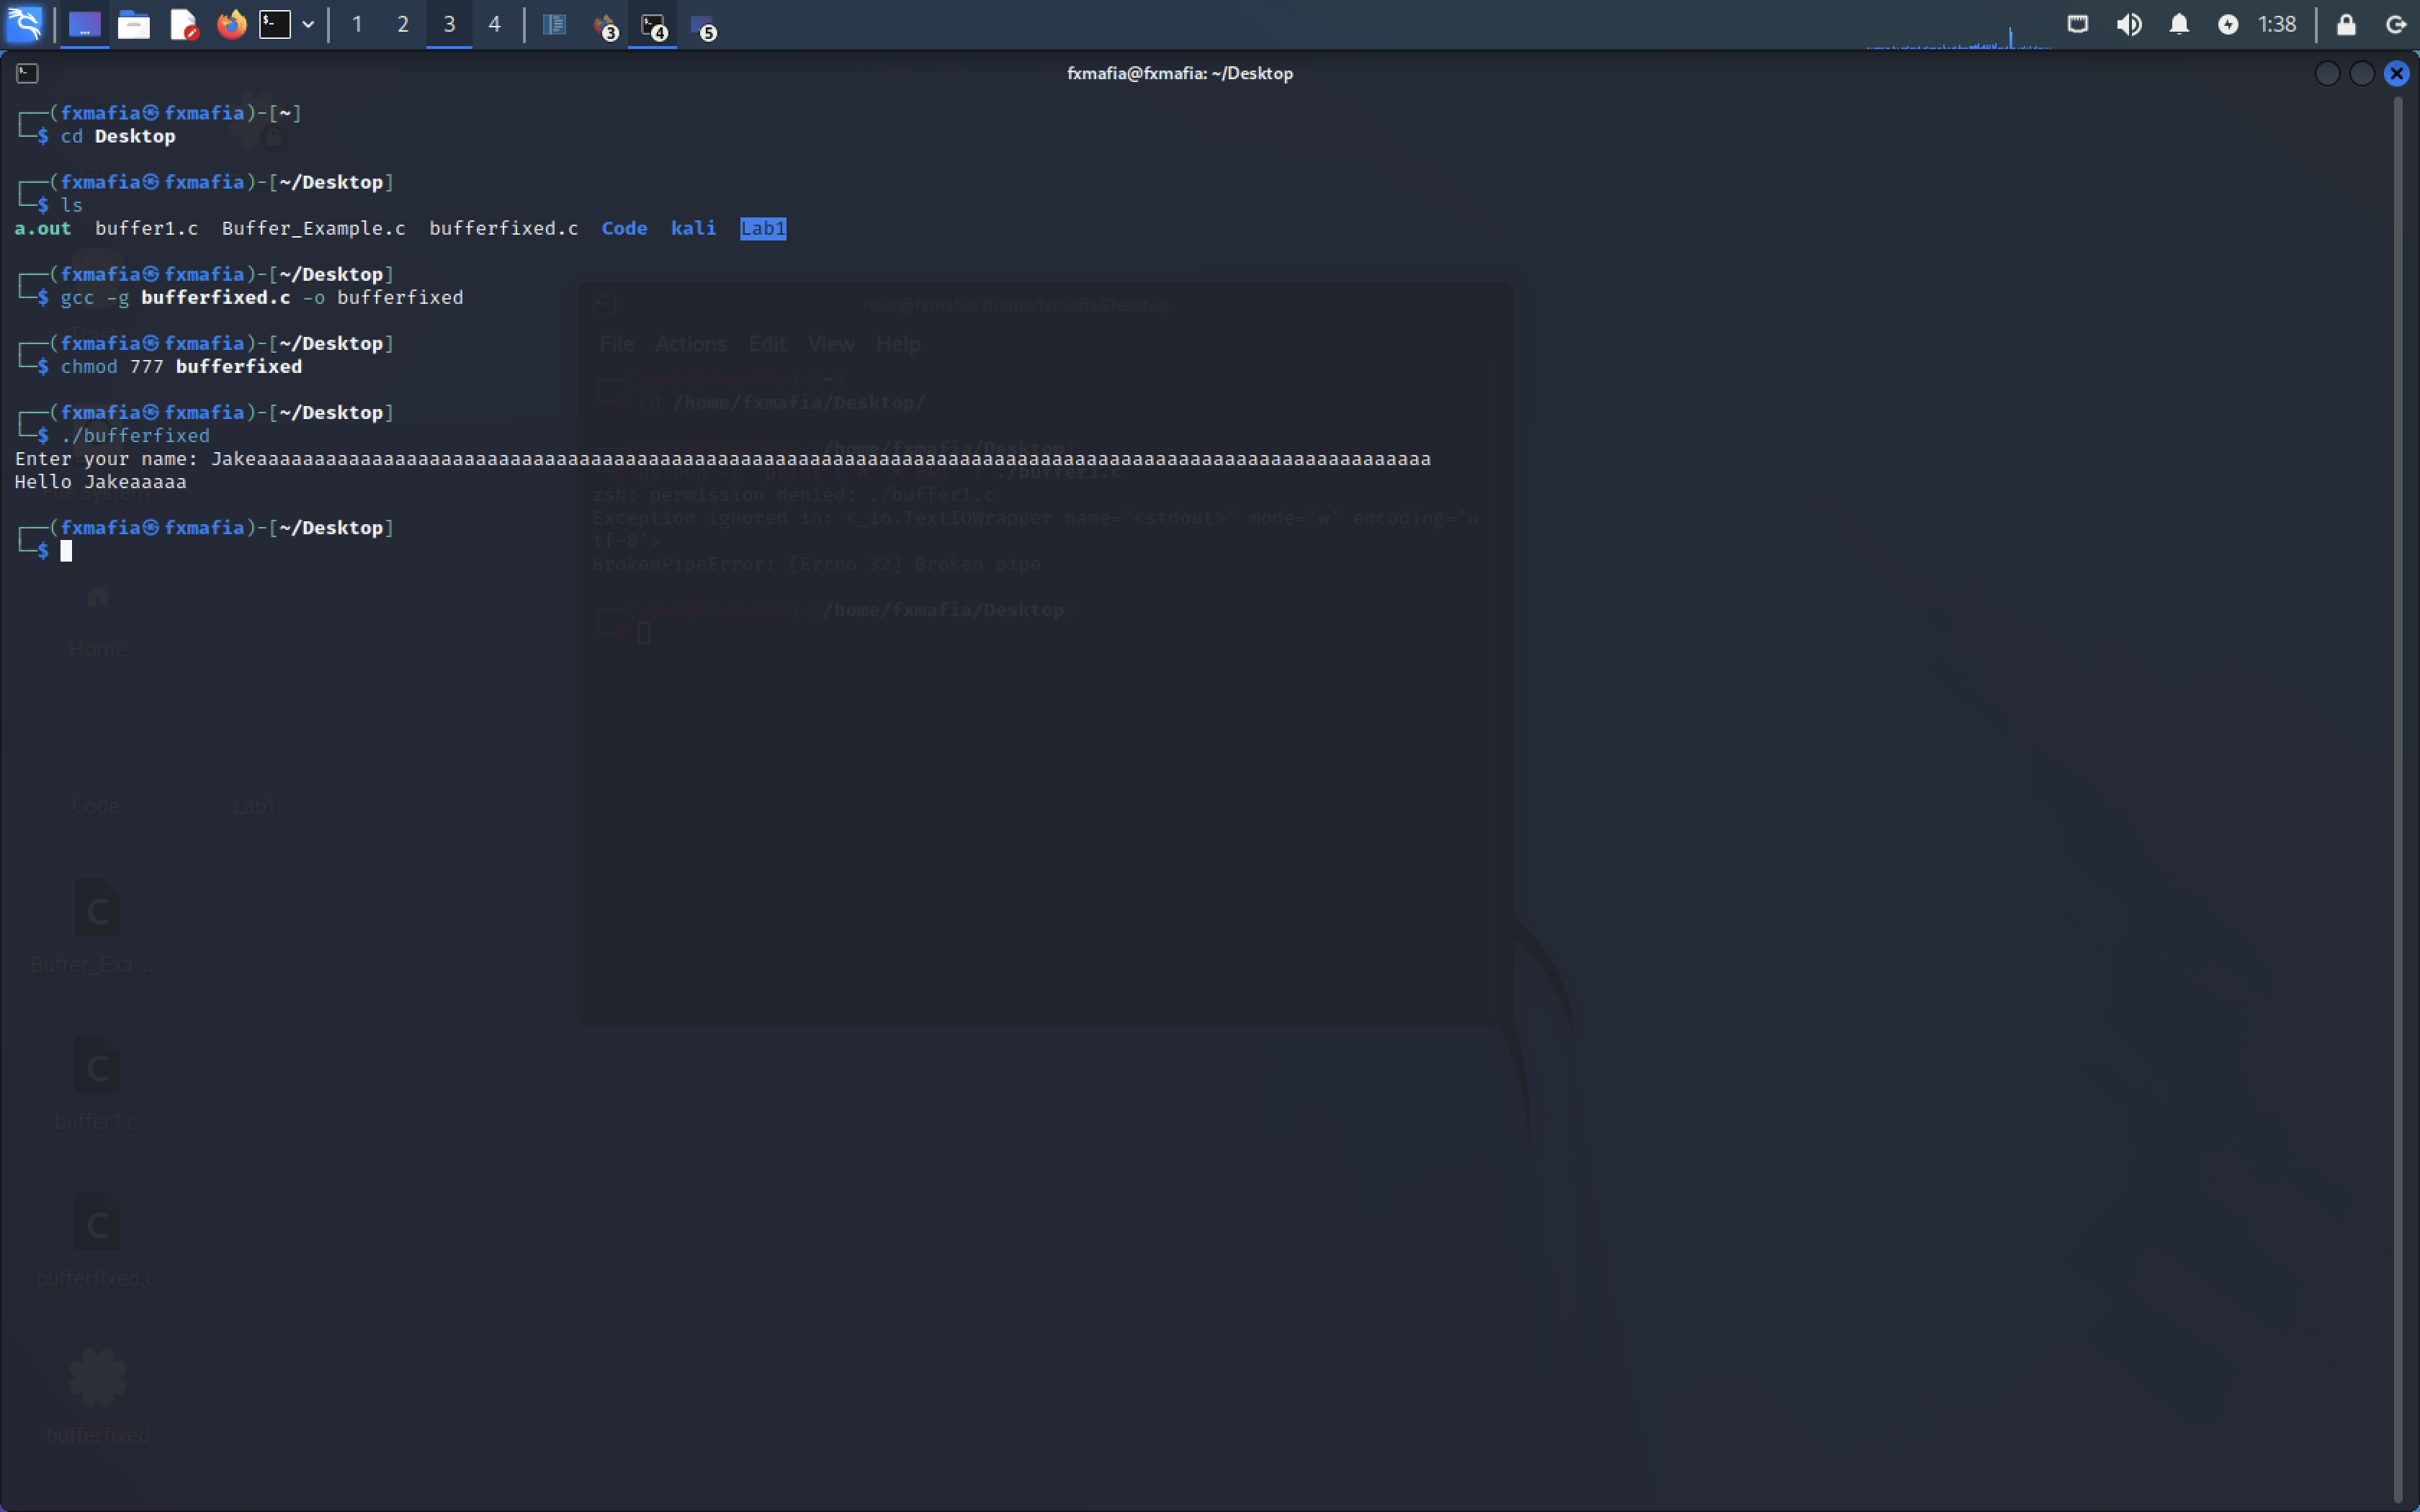
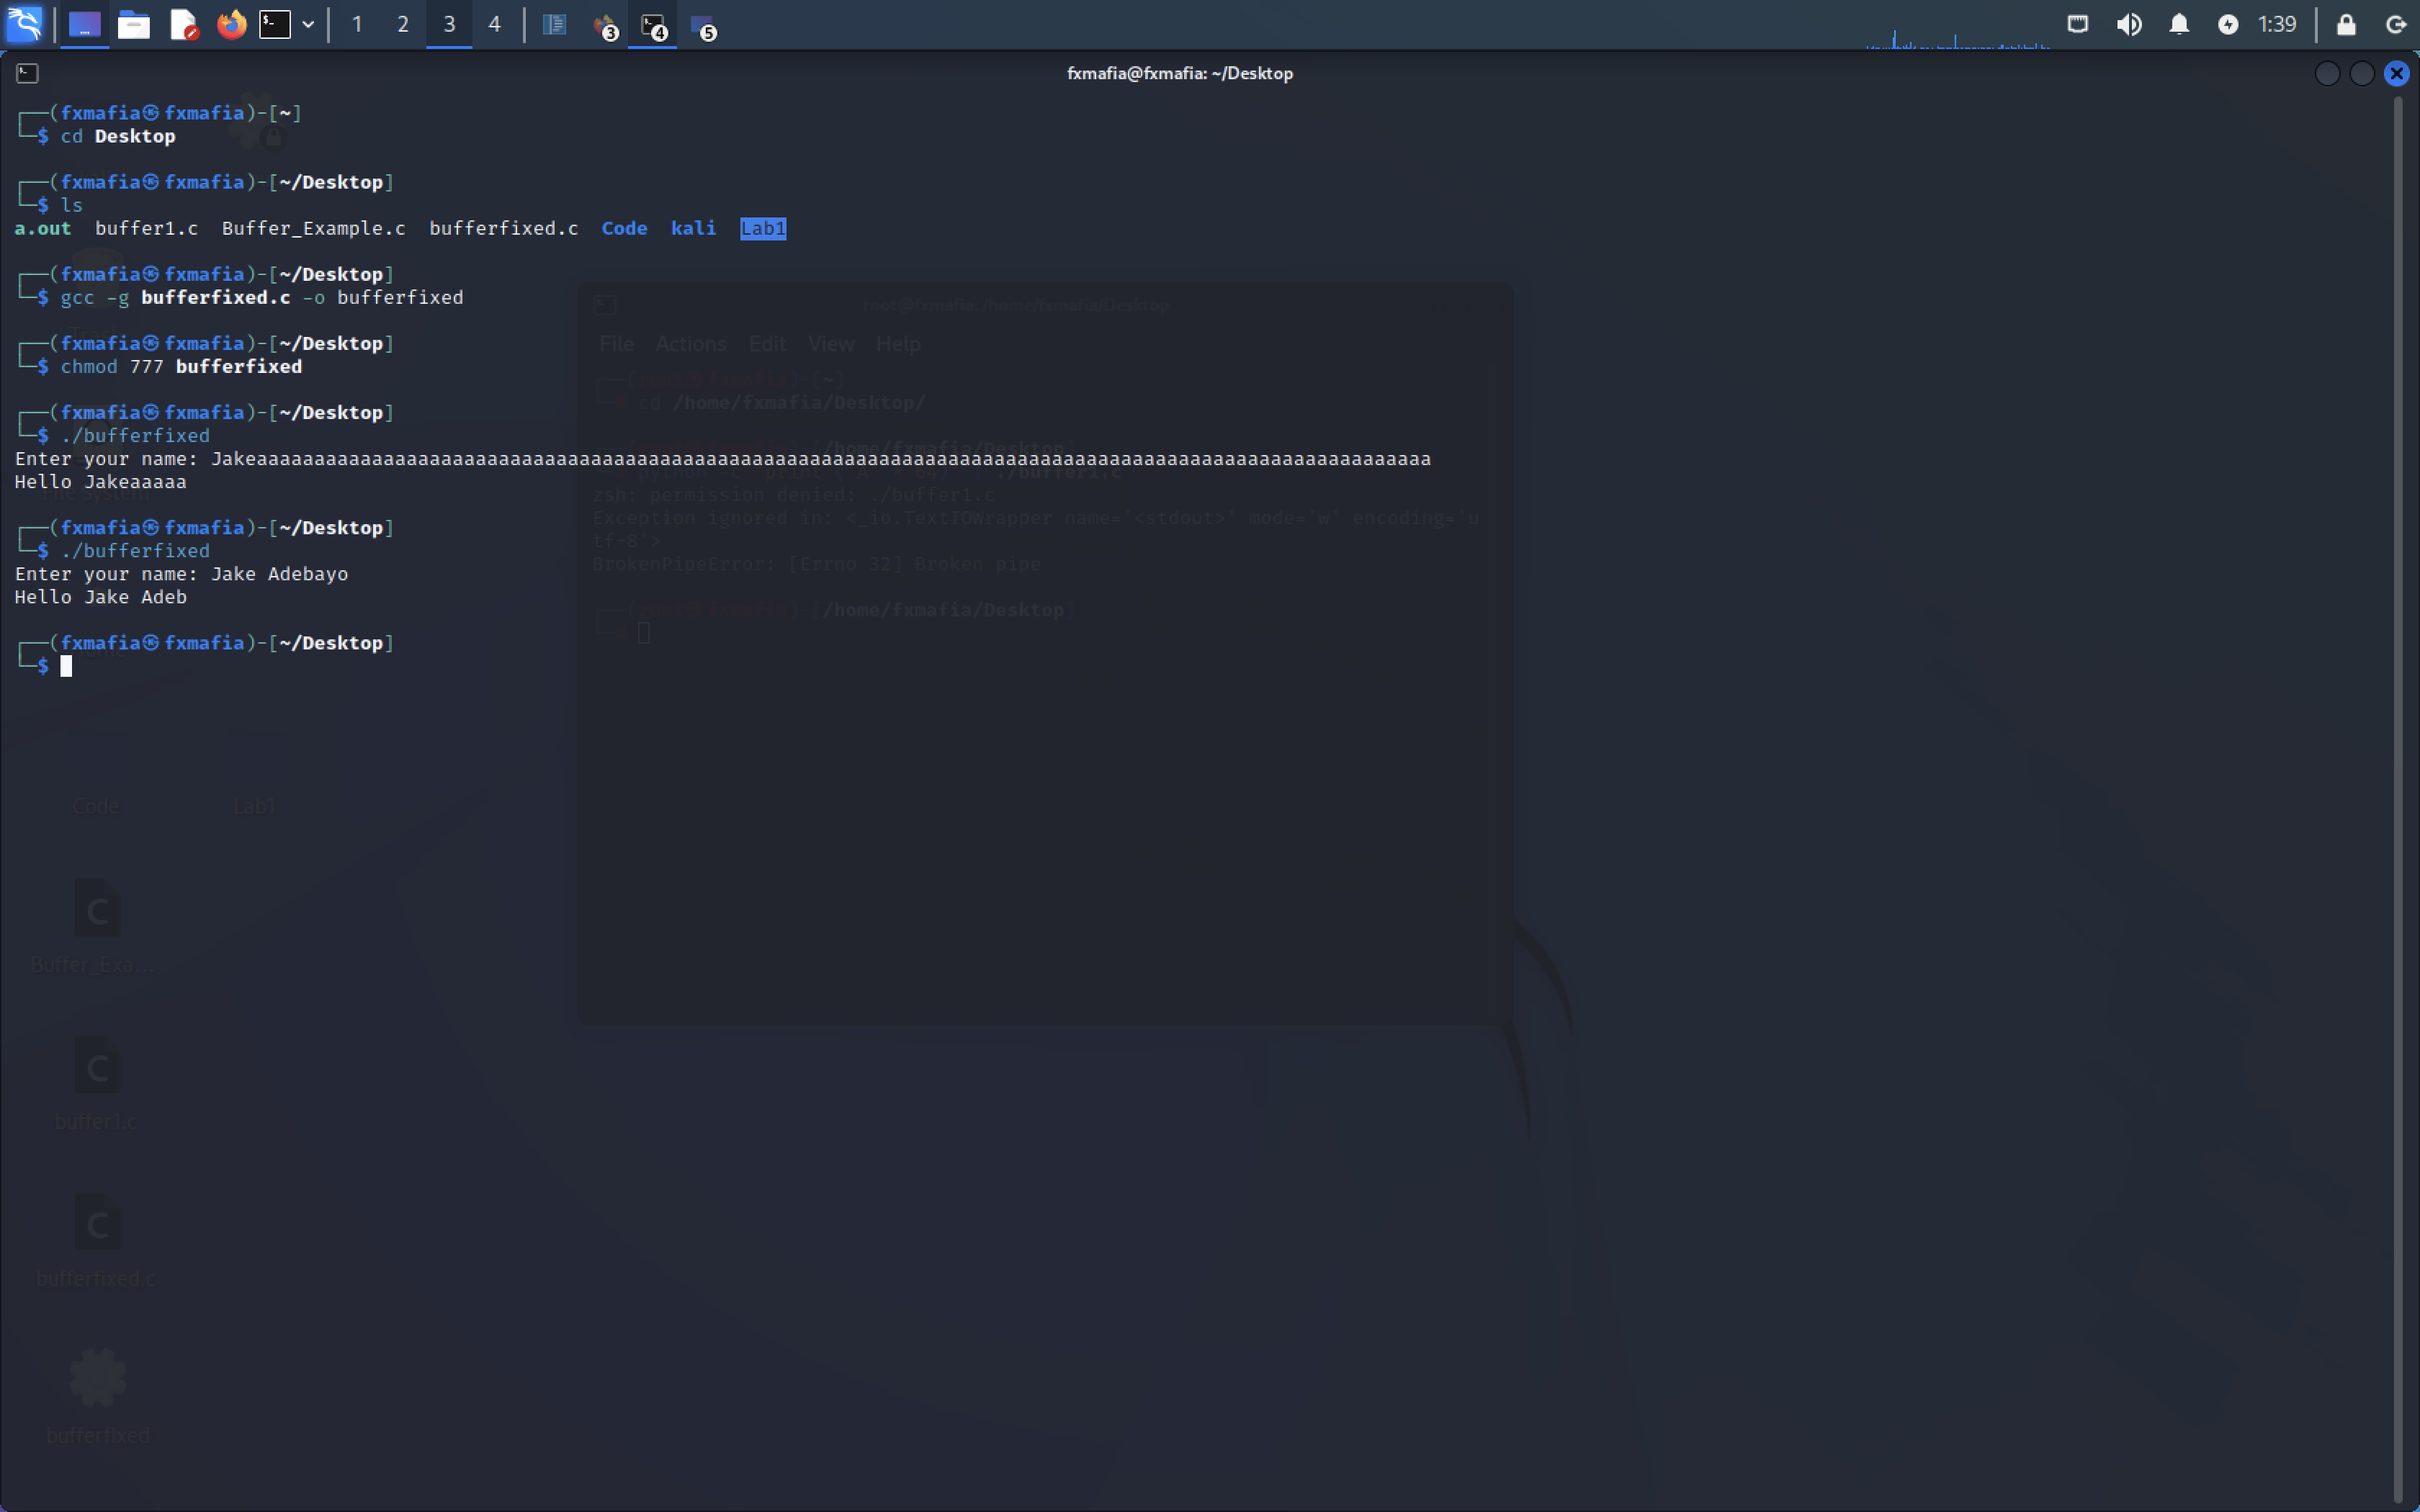
Change ‘scanf‘ in the program to ‘fgets‘, as seen in Figure 7.
Compile the code as shown in Figure 2 and run the following command to test the Buffer.
- python -c “print(‘A’ * 64)” | ./”newfilename”
Congratulations, you have mitigated the overflow!
With the successful implantation of, fgets, we have eliminated the vulnerability. However, we only tested boundary Buffer Overflows, is there another way does can allow a Buffer Overflow and not fgets?
REFERENCES:
[1] NIST, “Computer Security Technology Planning Study,” Oct. 1972. https://csrc.nist.gov/csrc/media/publications/conference-paper/1998/10/08/proceedings-of-the-21st-nissc-1998/documents/early-cs-papers/ande72.pdf
[2] NVD, “CVE-2018-17439 Detail,” Sep. 2018. https://nvd.nist.gov/vuln/detail/CVE-2018-17439
[3]https://www.youtube.com/playlist?list=PLLKT__MCUeix3O0DPbmuaRuR_4Hxo4m3G
[4] 0xrick, “Why Do Buffer Overflows Happen,” Dec. 2018. https://0xrick.github.io/binary-exploitation/bof1/
[5] of Syracuse, “Buffer-Overflow Vulnerabilites and Attacks,” Oct. 2013. http://www.cis.syr.edu/~wedu/Teaching/IntrCompSec/Lect